14 August 2013

Family portraits

Have been practising with my 50mm a lot more recently and did a family photo shoot with the gorgeous Mya, her parents and her grandma. How cute is she?! 


And another day, another family, my family! These next ones were taken at my Aunty and Uncle's 50th Wedding Anniversary. My Aunty got into the very dress she wore on her wedding day, how cool is that?! And here she is with her bridesmaids. (My mum is the gorgeous lady second in from the right) :)


Love this one!


And finally the happy couple! So, if you're looking for some lovely shots of your family, get in touch!

07 August 2013

High and Low Key Images

So, what is a high key image and what is a low key image? In short and just to confuse you (!), high key images are low contrast and low key images are high contrast, simples, right?! Well, contrast is a huge factor in both, but in very different ways. Let's start with high key first.

High key images are images that will contain very bright lighting that blow out most shadows. The subject of high key photos will tend to be of a positive mood or of nature and flowers, for example. You could try thinking of it as 'highlighting' a beautiful subject. High key images are also used a lot for advertising, with products on white backgrounds, because our minds believe these will be of higher quality.


High key images are images that really push the highlights of a photograph and contain little contrast. They are usually of a softer subject matter and have a 'happy' feel to them. But beware of over exposing you image! 

Now for low key images. Again they make use of contrast but in a completely different way. Low key images offer a moodier, dramatic angle to your image. Obviously these images will be dark and there should only be one or two highlights to show off the subject. Low key images are easier shot inside, compared with high key images and should not be confused with under exposing an image.


The key to these both sorts of images is referring to, and getting to know your in-camera metering. It will average out the lighting in the whole scene and will therefore tell you to over expose a low key image and under expose a high key. If you are pushed for time, you need to work out if the in-camera meter is being fooled and adjust the exposure by one or two stops either side. But ideally, to make sure you get the correct exposure for what you require in your shot, it is always best to bracket your images.

11 July 2013

My lully new 50mm 1.8!


I recently upgraded my camera to a Canon 7D. I've had my Lumix for a while and then I got given a kit lens for a Canon. So, what's a girl to do?! I had to get a Canon to make use of my new lens! I got a really good deal through DigitalRev and was not disappointed with their service! I got the camera in record time, 2 days and got a really good deal on a 50mm 1.8 lens too! Over the moon goes a little way to describing my excitement at my new toy! So above is the very first shot taken with my camera and making full use of my lovely new aperture settings! 


Some beautiful lilies I was also brought for my birthday and the cake my lovely mummy made me (I know, I am a very lucky lady). 


The reason I bought this lens; to practise my portraits and I'm pretty proud of this one!


LOVING the depth of field this lens offers me! And nice to see a lovely bumble bee!

04 July 2013

Summertime in Brighton!

Yes you do detect a hint of sarcasm!! ;) It was my birthday in June and my lovely other half took me to Brighton for the day. I haven't been there for years so really looked forward to it, shame the weather was a bit grey. Who'd have thought it in June?! Here are a few of the images I took...


I really like the composition of this photo. I'm pretty sure there wasn't a child who'd been left alone on the beach on a pretty cold and wet day but I like the kind of solitude of it.


Random shabby looking bird that I found endearing.

Honestly can you believe this was taken on 12th June?! It could have been November looking at this photo! Love how the building disappears into a clouds.


Hope you enjoy these as much as I enjoyed my day there. Must go back soon when it's a bit sunnier mind....!

20 June 2013

The Sunny F/16 Rule.... Explained!

I think the name for this method of photography is a bit misleading or sounds too restrictive. It's not a 'rule' as such, but more a guide to help you get the right exposure settings quickly when you perhaps don't have time to play around or use a light meter. 

The joy of this rule is that you don't just have to use it for sunny situations, it will also help you expose on a cloudy day. And, more importantly, if you get a correct exposure, there's less editing required after, trying to make up for lost detail.

So, the rule is, on a sunny day, with a front lit subject, set your aperture to F/16 and then set your shutter speed to the reciprocal of your ISO. 

F/16 ISO 100 Shutter Speed 1/100 second

or

F/16 ISO 200 Shutter Speed 1/200 second
F/16 ISO 400 Shutter Speed 1/400 second

(as you can see from the photo's below the exposure is the same despite the different settings because when you change the ISO, you adjust the shutter speed to compensate. Left is ISO 100, then ISO 200 and finally ISO 400)


If you need to shoot on a cloudy day or you want to adjust your depth of field, you can change the aperture but you have to change the shutter speed to compensate. For example;

On a cloudy day or a if a shallow depth of field is needed, if you changed your aperture to 
F/4 ISO 100, you would need to change your shutter speed to 1/1600 second and you can do this for settings anywhere inbetween. This is because, with this example, the aperture has changed by 4 full stops, so the shutter speed needs changing by 4 full stops as well. 

****Note at this point that some camera's are calibrated in third stops. So three clicks of the wheel on your camera will equate to one full stop.****


The image to the left is F/11 ISO 100 Shutter Speed 1/200. So, I have changed the aperture from F/16 by one full stop, therefore I need to change the shutter speed by one full stop from 1/100 to 1/200.

The image to the right is F/8 ISO 100 Shutter Speed 1/400. This time the settings have been changed by two full stops yet as you can see with both images, the exposure is the same.

Here is a guide for the settings in any weather condition which I hope you find useful:

Snow or Sand: F/22 
Sunny: F/16 
Slightly overcast: F/11 
Overcast: F/8 
Heavy overcast: F/5.6 
Open shade or sunset: F/4 


I hope this blog has helped you understand the rule a little better. Please feel free to comment below and let me know what you think or if you found it helpful. Now go and practise! It's an invaluable tool to have as a photographer as I have learnt in only a matter of weeks.

30 May 2013

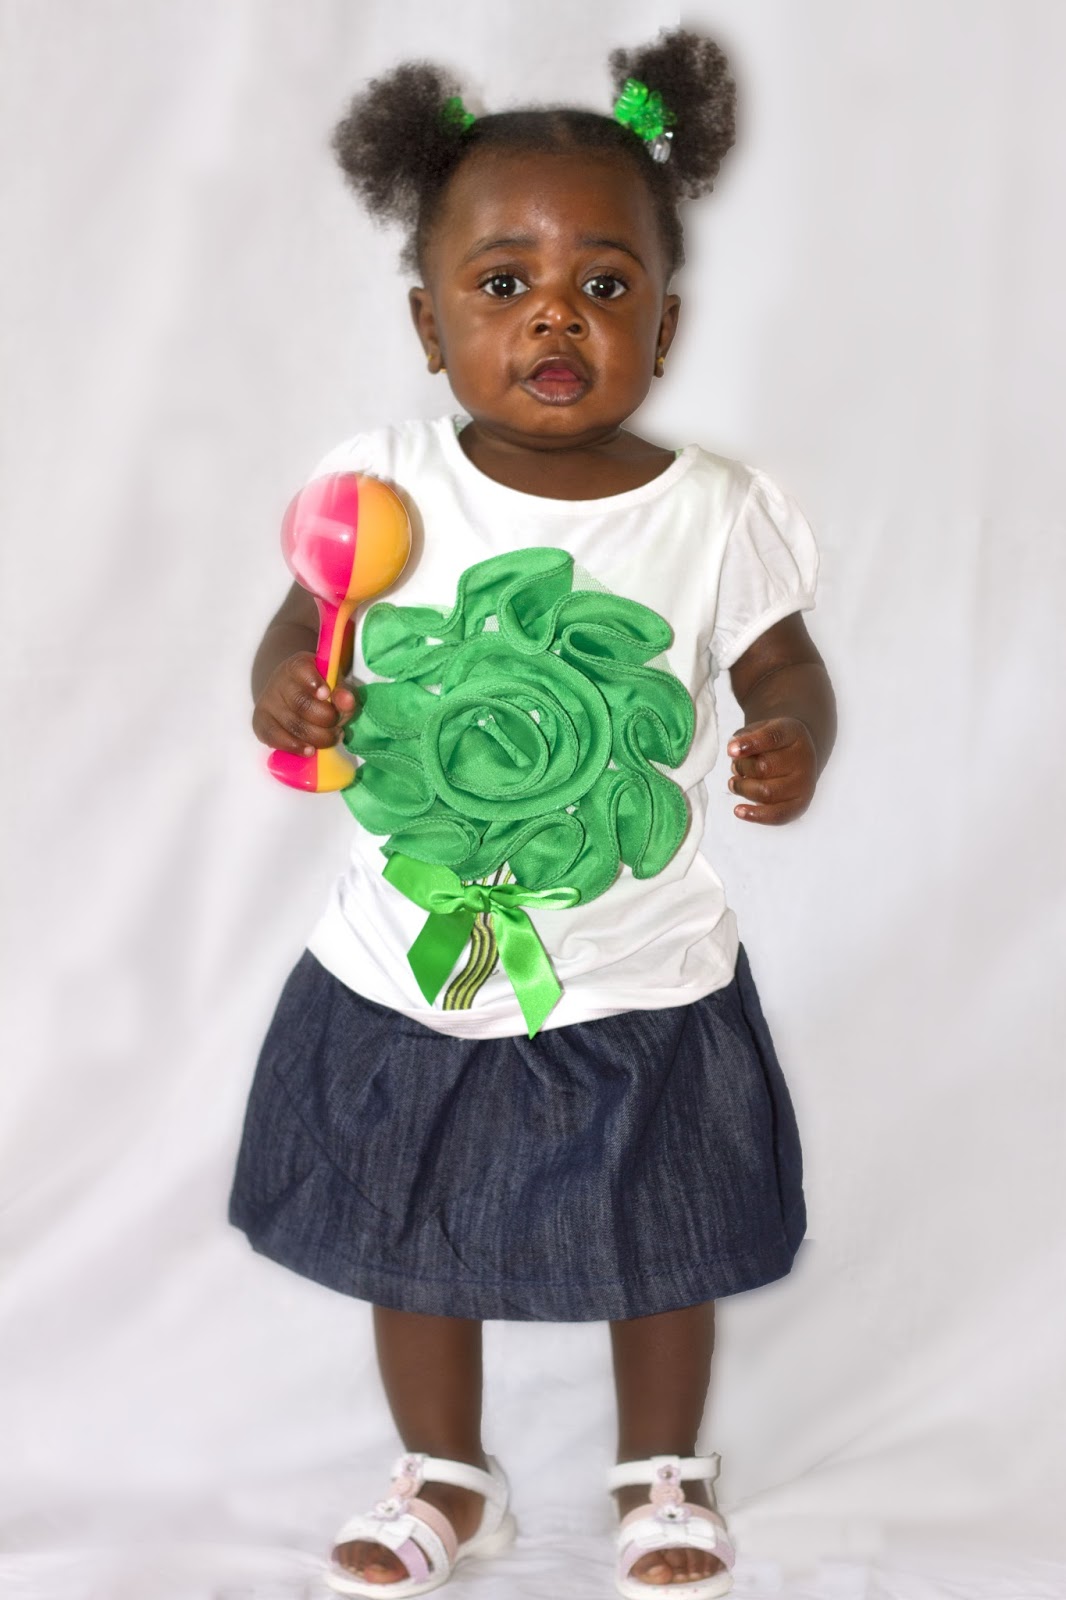
Millie's 1st Birthday

Decided to practise my portraits, kinda, by capturing my gorgeous niece's first birthday party. I'm definitely more of a 'documentary' photographer in that sense but I'm getting used to asking people to pose for me! Baby steps all the way, for me and for Millie! 

Food photos first!


Birthday girl in her gorgeous outfit and pushing her pram from Pops and Gaga!


Girls playing hide and seek


Stick a fork in me, I'm done! ;)

Millie and Mummy!

Daddy and cuddles with Opa


Millie enjoyed being pushed in her pram rather than pushing it herself! 


A select few out of the very many I took but I was able to put some of my newly learnt photography skills to the test. Like the 'Sunny F/16 Rule', which I'll cover in a post in a few weeks time (when there has been some more sun again!).