Showing posts with label Light. Show all posts

16 June 2014

Need some inspiration?

I find inspiration in most things but I have so many ideas buzzing around my head I sometimes don't know where to begin with them and a little direction never goes amiss!

 I had this delightful little number bought for me recently by one of my constant sources of inspiration, my other half! This book is excellent! It has lots of different ideas that anyone can have a go at and I would recommend it to everyone to have a look through, if you are 'photo crafty' minded.


I'm going to try and do one thing a month out of this book and then blog about it. Why not get yourself (or someone else to!) this book and do the same!

05 June 2014

Male Portraits

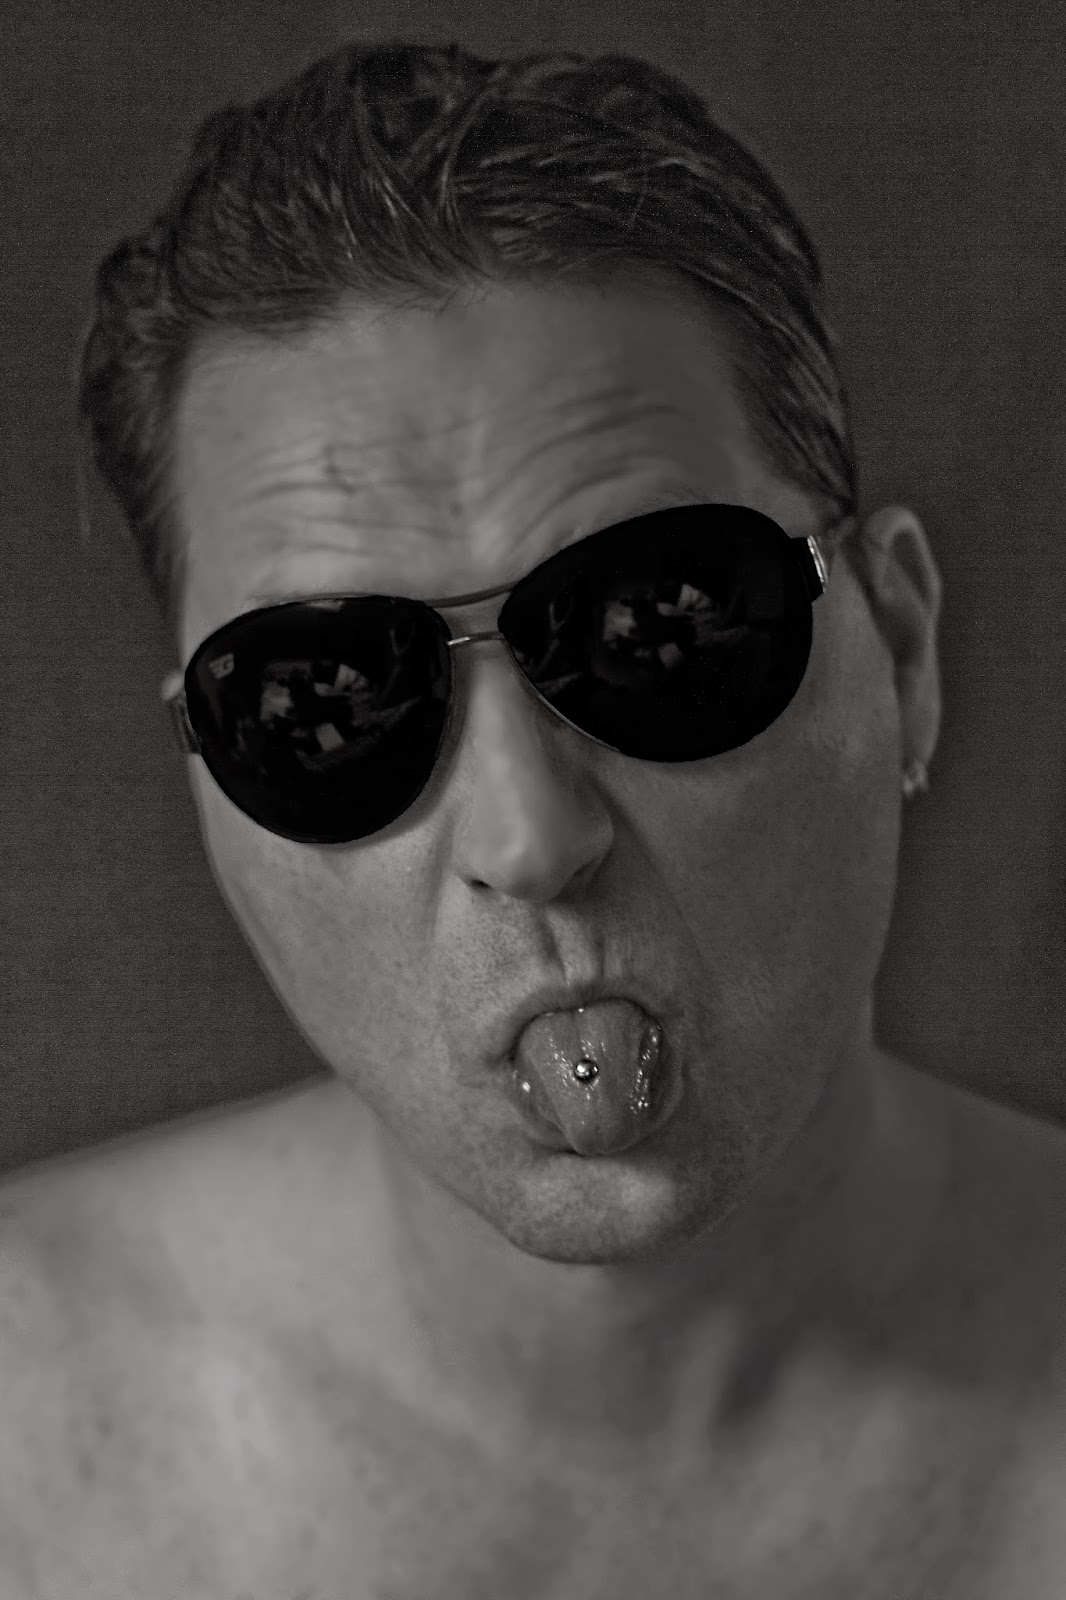
Been doing some male portrait recently, and trying out some different styles. Here are a small selection using both natural and artificial lighting. 

These two photos above are my preferred type of shot, the natural one. The one on the left is with studio lights (one soft box and a white umbrella either side of the camera at 45 degree angles to the subject) in my 'studio' (I wish!) and on the right, natural light on a summers day. Opposite way round below and this time with my models posed. 


Having male models has it advantages… Like being able to experiment having a bit more scope when it comes to harsh lighting. I have skylights so this was taken using the window light, slightly diffused. I really like the stark contrast of light on either side of the face.


This photo is part of an assignment for the course I'm doing with The Photography Institute, (another blog for another time, maybe). This was my favourite one from the five I took, because I love the catch lights! 

27 February 2014

Photoshop Tips! Reducing shine through simple retouching.

Thought it was about time I posted something a) not about Cuba b) that other people mind find useful (!). As much as I want you all to look at and appreciate my photos, always good to mix it up with some handy tips (and still looking at my photos!!).

In this post I am going to give you some simple Photoshop tips for removing those annoying areas of shine on a face! So, here's the original photo:


I love the high contrast of the lighting in this image. As my lovely model Dorian said, it represents the way he see's his only personality, with a very dark side! There isn't much call for retouching with this image but I wanted to get rid of the slight shine there is on the left of his face from the lighting and you'll be pleased to hear this is really, really simple to do.

First, create a new layer in Photoshop (Layer -> New -> Layer) and name it 'Retouch'.

Next you need to click on eye dropper tool icon. Move your cursor over to the an area of the skin that isn't shiny, but close to your problem area and click. In the photo I'm using, I clicked on the skin just below the cheek bone. It'll bring up a big round circle with two colours in like the picture below:


Then change from the eye dropper tool to the paint brush tool and reduce the opacity to around 10% (you can play around with this but I think no higher than 10% works best, otherwise it can end up looking unnatural).

Zoom in to your photo (cmd/ctrl and +) to about 200% so you can make small, accurate adjustments a little at a time.
Paint over the area of shine, a little at a time and toggle on and off the layer to check your progress and see if you need to go over the area again.

When you move to a different part of the skin, repeat the process of finding the nearest area of skin without any shine, using the eye dropper tool to match the skin tones, and then changing to paint brush to paint over the area.

And here is my final product. Just a teeny tweak here and there which improves the overall image!


All content ©FeistyFotos. Please do not copy or use without permission. With thanks to my model Dorian Payne.

07 August 2013

High and Low Key Images

So, what is a high key image and what is a low key image? In short and just to confuse you (!), high key images are low contrast and low key images are high contrast, simples, right?! Well, contrast is a huge factor in both, but in very different ways. Let's start with high key first.

High key images are images that will contain very bright lighting that blow out most shadows. The subject of high key photos will tend to be of a positive mood or of nature and flowers, for example. You could try thinking of it as 'highlighting' a beautiful subject. High key images are also used a lot for advertising, with products on white backgrounds, because our minds believe these will be of higher quality.


High key images are images that really push the highlights of a photograph and contain little contrast. They are usually of a softer subject matter and have a 'happy' feel to them. But beware of over exposing you image! 

Now for low key images. Again they make use of contrast but in a completely different way. Low key images offer a moodier, dramatic angle to your image. Obviously these images will be dark and there should only be one or two highlights to show off the subject. Low key images are easier shot inside, compared with high key images and should not be confused with under exposing an image.


The key to these both sorts of images is referring to, and getting to know your in-camera metering. It will average out the lighting in the whole scene and will therefore tell you to over expose a low key image and under expose a high key. If you are pushed for time, you need to work out if the in-camera meter is being fooled and adjust the exposure by one or two stops either side. But ideally, to make sure you get the correct exposure for what you require in your shot, it is always best to bracket your images.