Showing posts with label Exposure. Show all posts

23 May 2014

Photoshop Tutorial: HDR Images


I think amongst photographers, HDR is a bit like marmite, you either love it or hate it. I have seen some amazing landscape shots enhanced with the use of HDR but it's never been something that has massively appealed to me…. Until now!

HDR stands for High-Dynamic-Range imaging and to put it simply, it gives you a better range of highlights, shadows, colours than you can capture with real world scenes.

I read a couple of tutorials on it after looking at some album artwork that I thought looked really cool and that I wanted to have a go at recreating (The Amazing Snakeheads, Amphetamine Ballads to be precise).

The technical bit:
  • You need to take 3 images, one a stop or two under exposed, one correctly exposed and a third image one or two stops over exposed. (In order to get a seamless free image, it's best to use a tripod, unless you want a more ethereal, dreamlike or ghostly final image.)
  • Open up Photoshop and click on file, then 'automate' and 'Merge to HDR pro'

  • You'll then get a pop up box with your HDR image and now the world is your oyster! Play around with the settings and see what you get!
NB If you can't see the the save or OK button if you edit on a Mac, move the toolbar to the left or right (apple -> Dock -> Position on Left/Right) and it should come up. For some reason, on mine, the bottom of the box gets cut off meaning you have to force quit and lose your lovely image!


Like I said previously, if you want a crisper image, you'll need to use a tripod, but I was so eager to try the technique out I didn't bother! Serendipity prevailed once again and I love the softer edges and the more eerie feel of the photo by not using one.

And just to add a bit more spookiness to the image, I did another edit but this time I made the eyes completely black. Thoughts?!


22 April 2014

More Easter Goodies

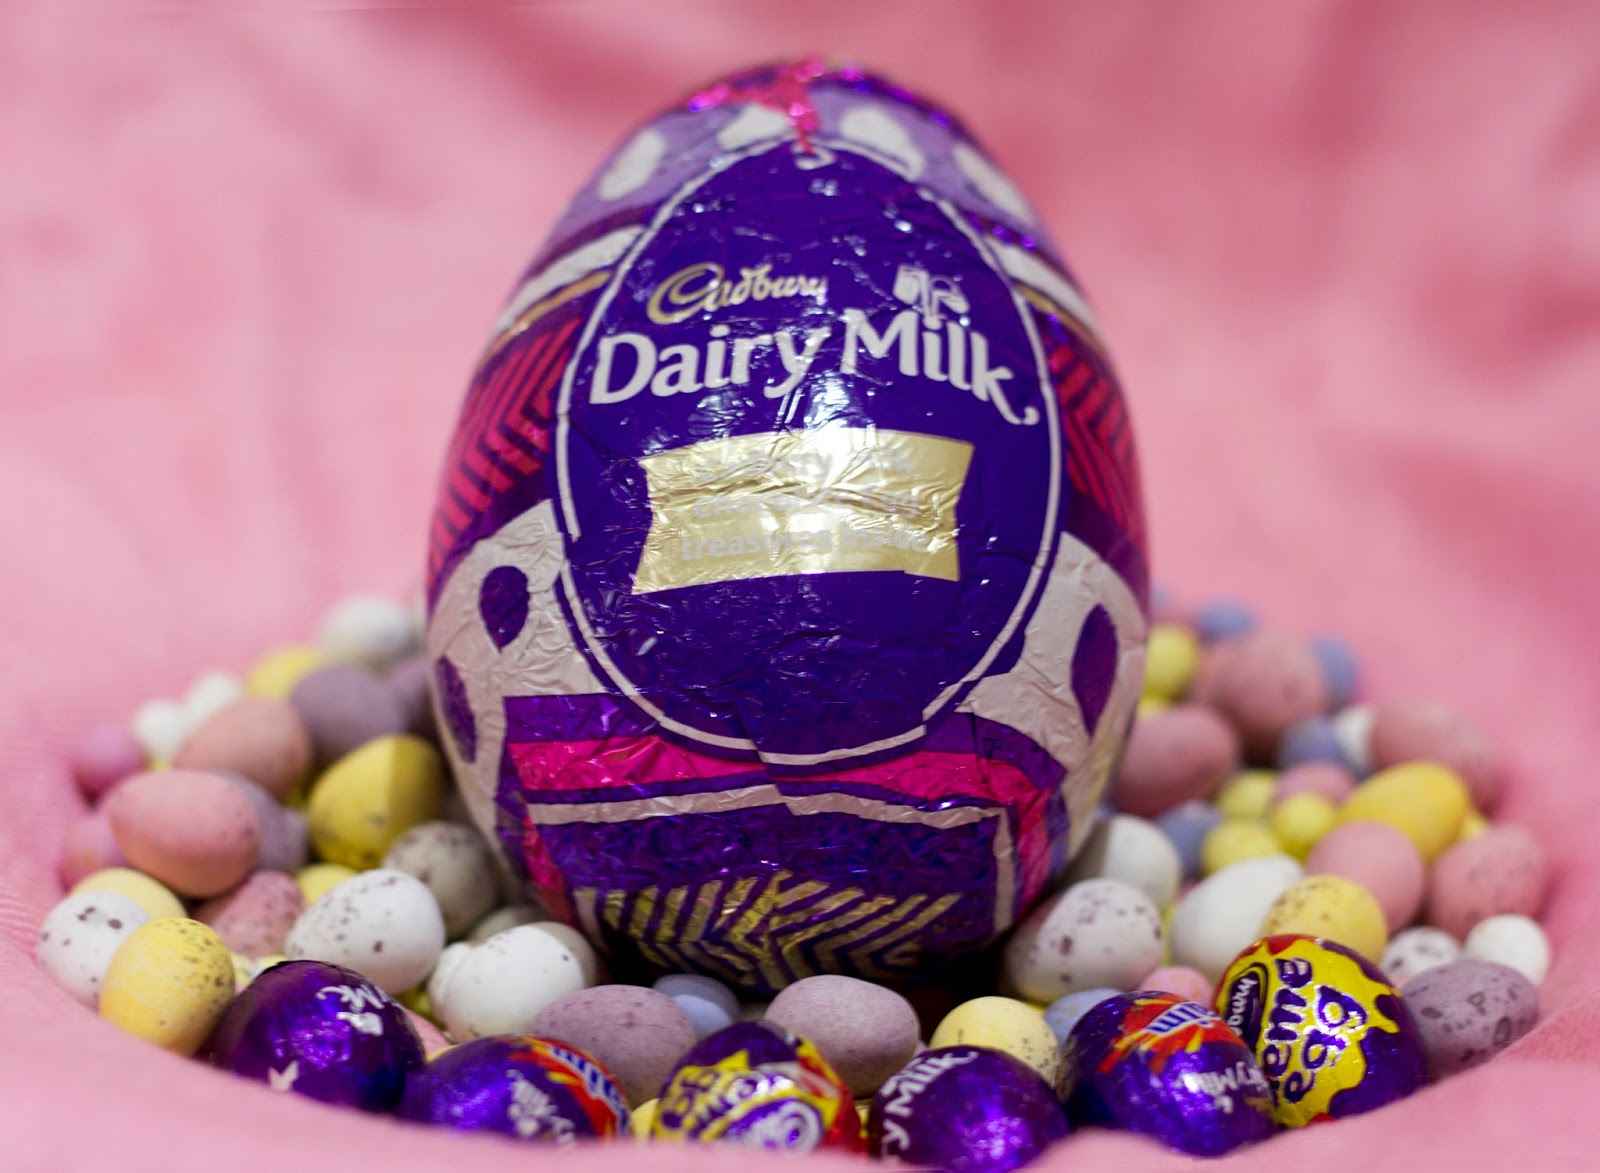
Hope everyone had a great Easter break! Did the Easter bunny bring you as much chocolate as it has in my household?! My mum and dad do me and my siblings an Easter egg hunt each year, despite the fact we are all grown up now and it doesn't get any less competitive! And thanks to this tradition, I also do a hunt for my other half… This year was no exception. I weighed the chocolate once it had all been found…. A whopping 2314g of chocolate for one adult! Too much?! Nah!

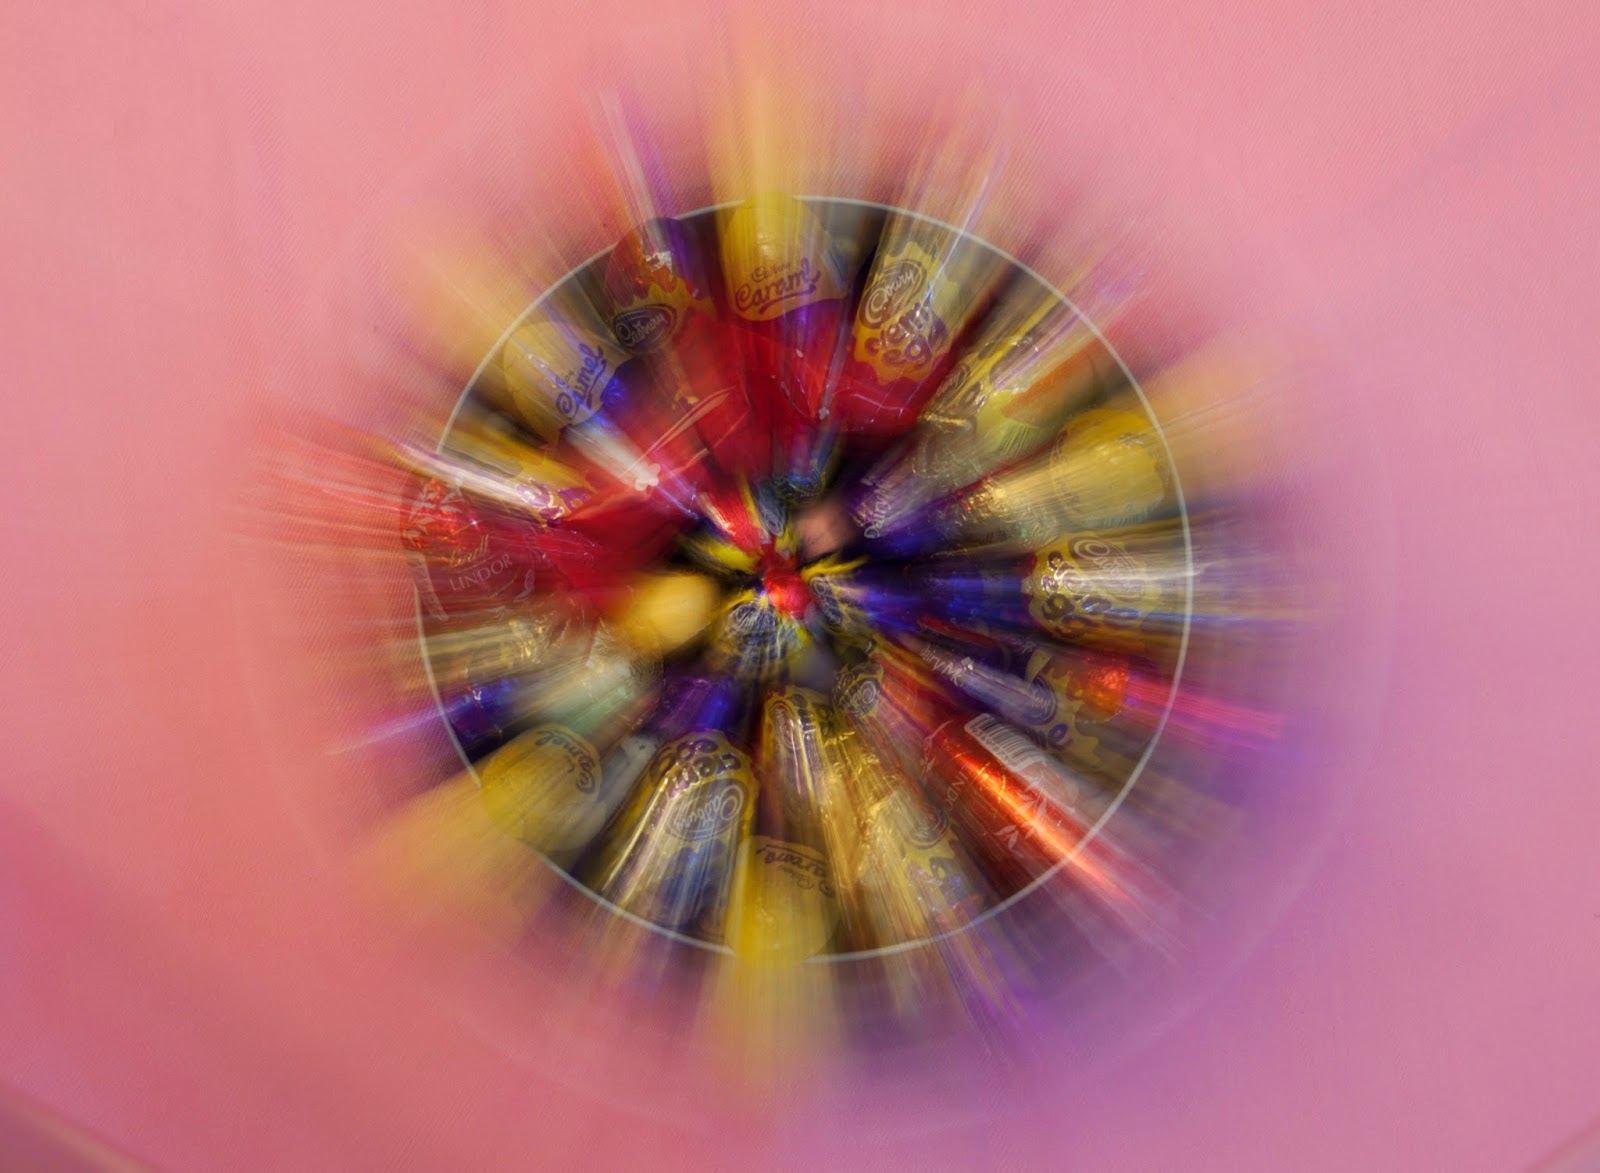
And with so much chocolate hanging around it seemed only right to get the camera out and take a few shots. Might use these images for some Easter cards next year.


A selection of our chocolate!


I haven't played around with long exposures lately so thought this would be a good subject to try it on seeing as there are lots of vibrant colours to play with. I used a pink shawl as a backdrop (you don't need a tonne of professional gear to take a photo you know!) and my settings were ISO 100, f5.6 and a 2.5 second exposure. 


Would love to see anyone else's attempt at something similar, what do you think?


07 August 2013

High and Low Key Images

So, what is a high key image and what is a low key image? In short and just to confuse you (!), high key images are low contrast and low key images are high contrast, simples, right?! Well, contrast is a huge factor in both, but in very different ways. Let's start with high key first.

High key images are images that will contain very bright lighting that blow out most shadows. The subject of high key photos will tend to be of a positive mood or of nature and flowers, for example. You could try thinking of it as 'highlighting' a beautiful subject. High key images are also used a lot for advertising, with products on white backgrounds, because our minds believe these will be of higher quality.


High key images are images that really push the highlights of a photograph and contain little contrast. They are usually of a softer subject matter and have a 'happy' feel to them. But beware of over exposing you image! 

Now for low key images. Again they make use of contrast but in a completely different way. Low key images offer a moodier, dramatic angle to your image. Obviously these images will be dark and there should only be one or two highlights to show off the subject. Low key images are easier shot inside, compared with high key images and should not be confused with under exposing an image.


The key to these both sorts of images is referring to, and getting to know your in-camera metering. It will average out the lighting in the whole scene and will therefore tell you to over expose a low key image and under expose a high key. If you are pushed for time, you need to work out if the in-camera meter is being fooled and adjust the exposure by one or two stops either side. But ideally, to make sure you get the correct exposure for what you require in your shot, it is always best to bracket your images.

20 June 2013

The Sunny F/16 Rule.... Explained!

I think the name for this method of photography is a bit misleading or sounds too restrictive. It's not a 'rule' as such, but more a guide to help you get the right exposure settings quickly when you perhaps don't have time to play around or use a light meter. 

The joy of this rule is that you don't just have to use it for sunny situations, it will also help you expose on a cloudy day. And, more importantly, if you get a correct exposure, there's less editing required after, trying to make up for lost detail.

So, the rule is, on a sunny day, with a front lit subject, set your aperture to F/16 and then set your shutter speed to the reciprocal of your ISO. 

F/16 ISO 100 Shutter Speed 1/100 second

or

F/16 ISO 200 Shutter Speed 1/200 second
F/16 ISO 400 Shutter Speed 1/400 second

(as you can see from the photo's below the exposure is the same despite the different settings because when you change the ISO, you adjust the shutter speed to compensate. Left is ISO 100, then ISO 200 and finally ISO 400)


If you need to shoot on a cloudy day or you want to adjust your depth of field, you can change the aperture but you have to change the shutter speed to compensate. For example;

On a cloudy day or a if a shallow depth of field is needed, if you changed your aperture to 
F/4 ISO 100, you would need to change your shutter speed to 1/1600 second and you can do this for settings anywhere inbetween. This is because, with this example, the aperture has changed by 4 full stops, so the shutter speed needs changing by 4 full stops as well. 

****Note at this point that some camera's are calibrated in third stops. So three clicks of the wheel on your camera will equate to one full stop.****


The image to the left is F/11 ISO 100 Shutter Speed 1/200. So, I have changed the aperture from F/16 by one full stop, therefore I need to change the shutter speed by one full stop from 1/100 to 1/200.

The image to the right is F/8 ISO 100 Shutter Speed 1/400. This time the settings have been changed by two full stops yet as you can see with both images, the exposure is the same.

Here is a guide for the settings in any weather condition which I hope you find useful:

Snow or Sand: F/22 
Sunny: F/16 
Slightly overcast: F/11 
Overcast: F/8 
Heavy overcast: F/5.6 
Open shade or sunset: F/4 


I hope this blog has helped you understand the rule a little better. Please feel free to comment below and let me know what you think or if you found it helpful. Now go and practise! It's an invaluable tool to have as a photographer as I have learnt in only a matter of weeks.