Showing posts with label Portrait/People. Show all posts

05 June 2014

Male Portraits

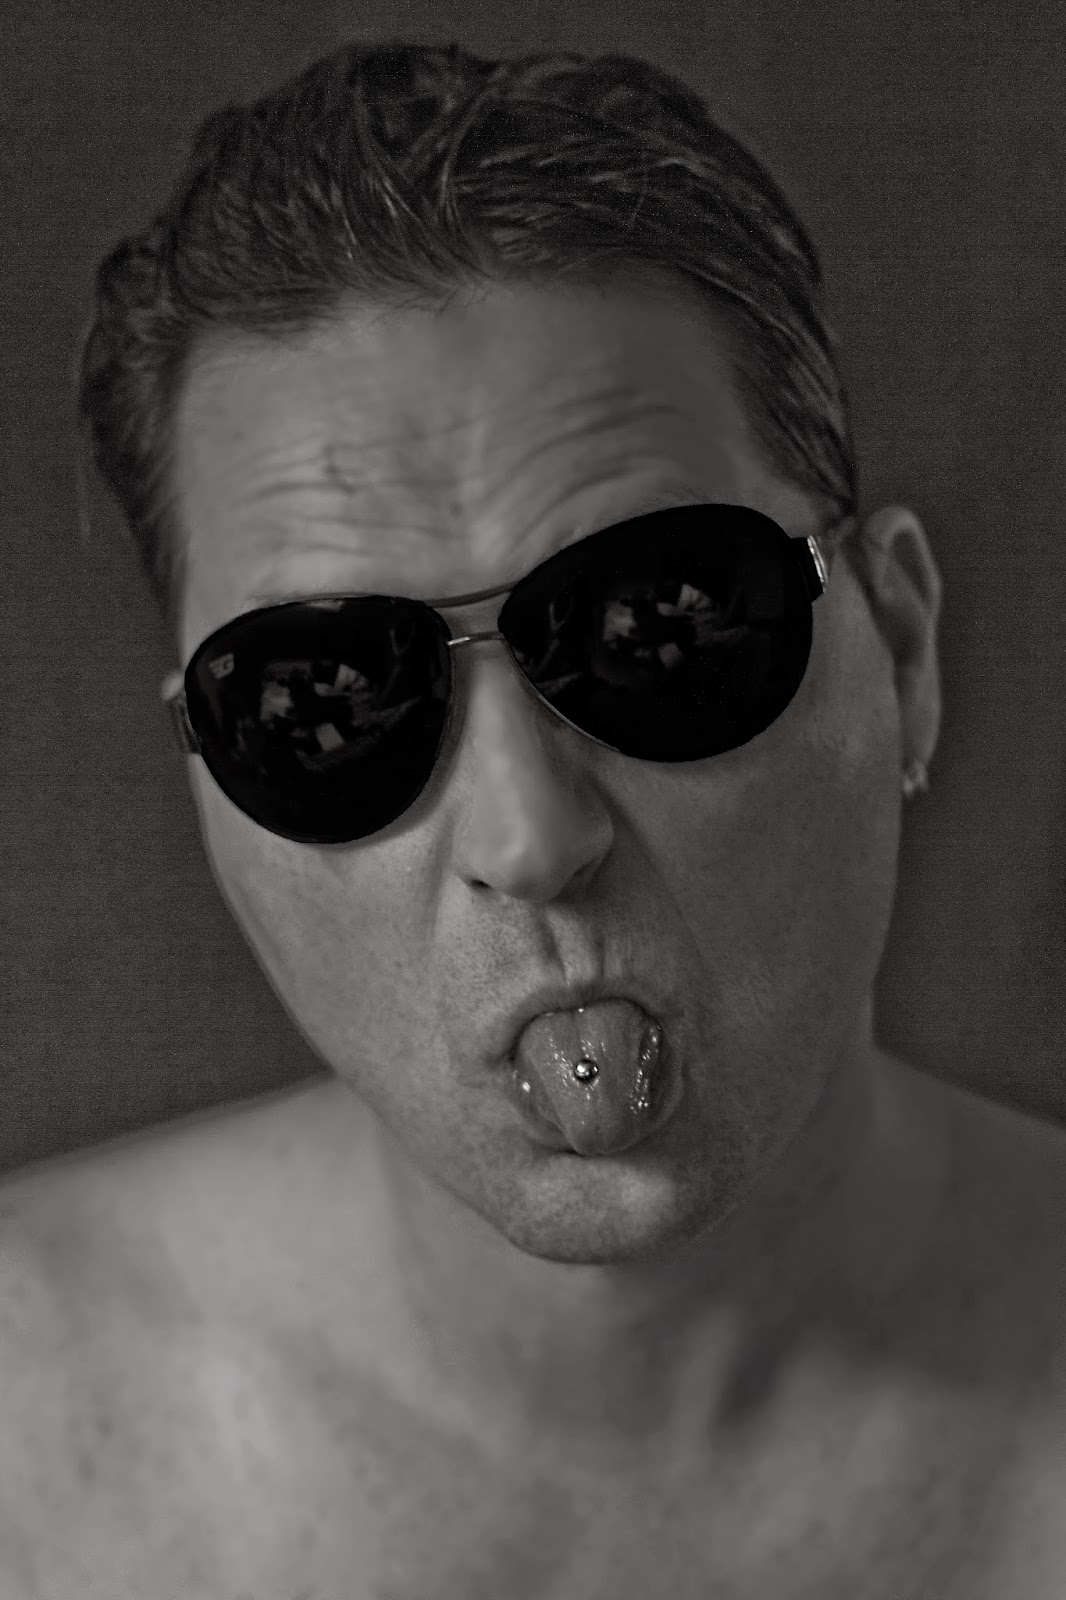
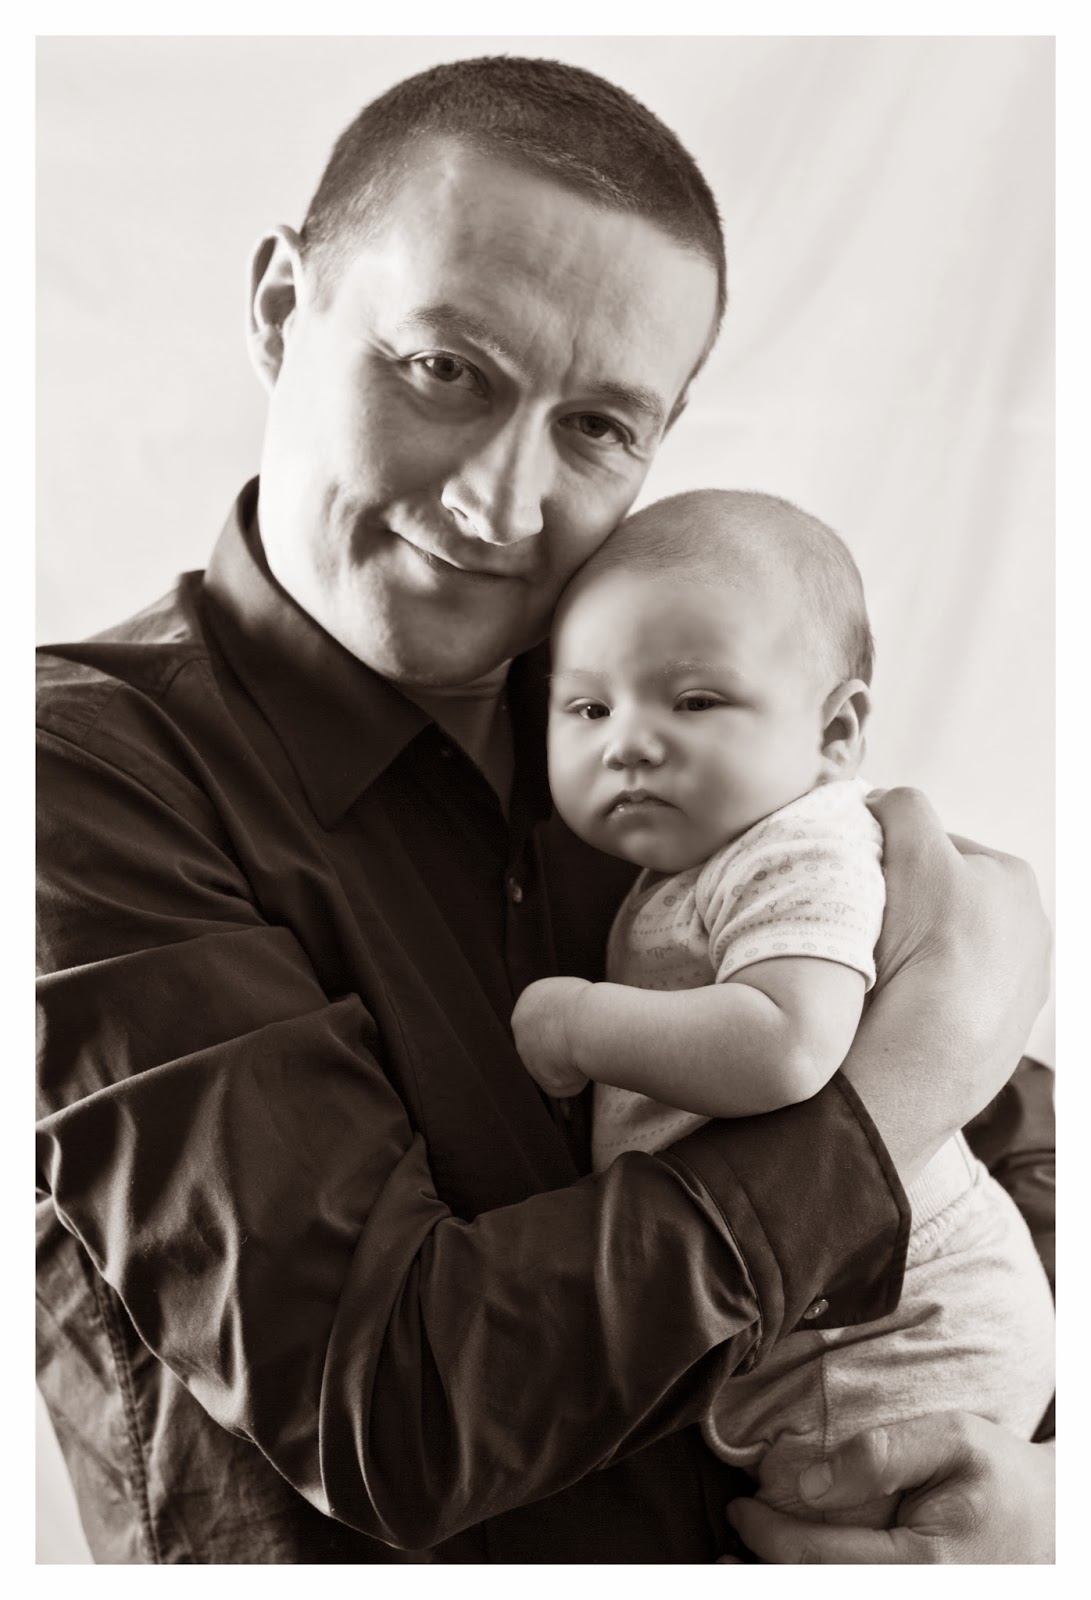
Been doing some male portrait recently, and trying out some different styles. Here are a small selection using both natural and artificial lighting. 

These two photos above are my preferred type of shot, the natural one. The one on the left is with studio lights (one soft box and a white umbrella either side of the camera at 45 degree angles to the subject) in my 'studio' (I wish!) and on the right, natural light on a summers day. Opposite way round below and this time with my models posed. 


Having male models has it advantages… Like being able to experiment having a bit more scope when it comes to harsh lighting. I have skylights so this was taken using the window light, slightly diffused. I really like the stark contrast of light on either side of the face.


This photo is part of an assignment for the course I'm doing with The Photography Institute, (another blog for another time, maybe). This was my favourite one from the five I took, because I love the catch lights! 

23 May 2014

Photoshop Tutorial: HDR Images


I think amongst photographers, HDR is a bit like marmite, you either love it or hate it. I have seen some amazing landscape shots enhanced with the use of HDR but it's never been something that has massively appealed to me…. Until now!

HDR stands for High-Dynamic-Range imaging and to put it simply, it gives you a better range of highlights, shadows, colours than you can capture with real world scenes.

I read a couple of tutorials on it after looking at some album artwork that I thought looked really cool and that I wanted to have a go at recreating (The Amazing Snakeheads, Amphetamine Ballads to be precise).

The technical bit:
  • You need to take 3 images, one a stop or two under exposed, one correctly exposed and a third image one or two stops over exposed. (In order to get a seamless free image, it's best to use a tripod, unless you want a more ethereal, dreamlike or ghostly final image.)
  • Open up Photoshop and click on file, then 'automate' and 'Merge to HDR pro'

  • You'll then get a pop up box with your HDR image and now the world is your oyster! Play around with the settings and see what you get!
NB If you can't see the the save or OK button if you edit on a Mac, move the toolbar to the left or right (apple -> Dock -> Position on Left/Right) and it should come up. For some reason, on mine, the bottom of the box gets cut off meaning you have to force quit and lose your lovely image!


Like I said previously, if you want a crisper image, you'll need to use a tripod, but I was so eager to try the technique out I didn't bother! Serendipity prevailed once again and I love the softer edges and the more eerie feel of the photo by not using one.

And just to add a bit more spookiness to the image, I did another edit but this time I made the eyes completely black. Thoughts?!


14 May 2014

Family Portraits

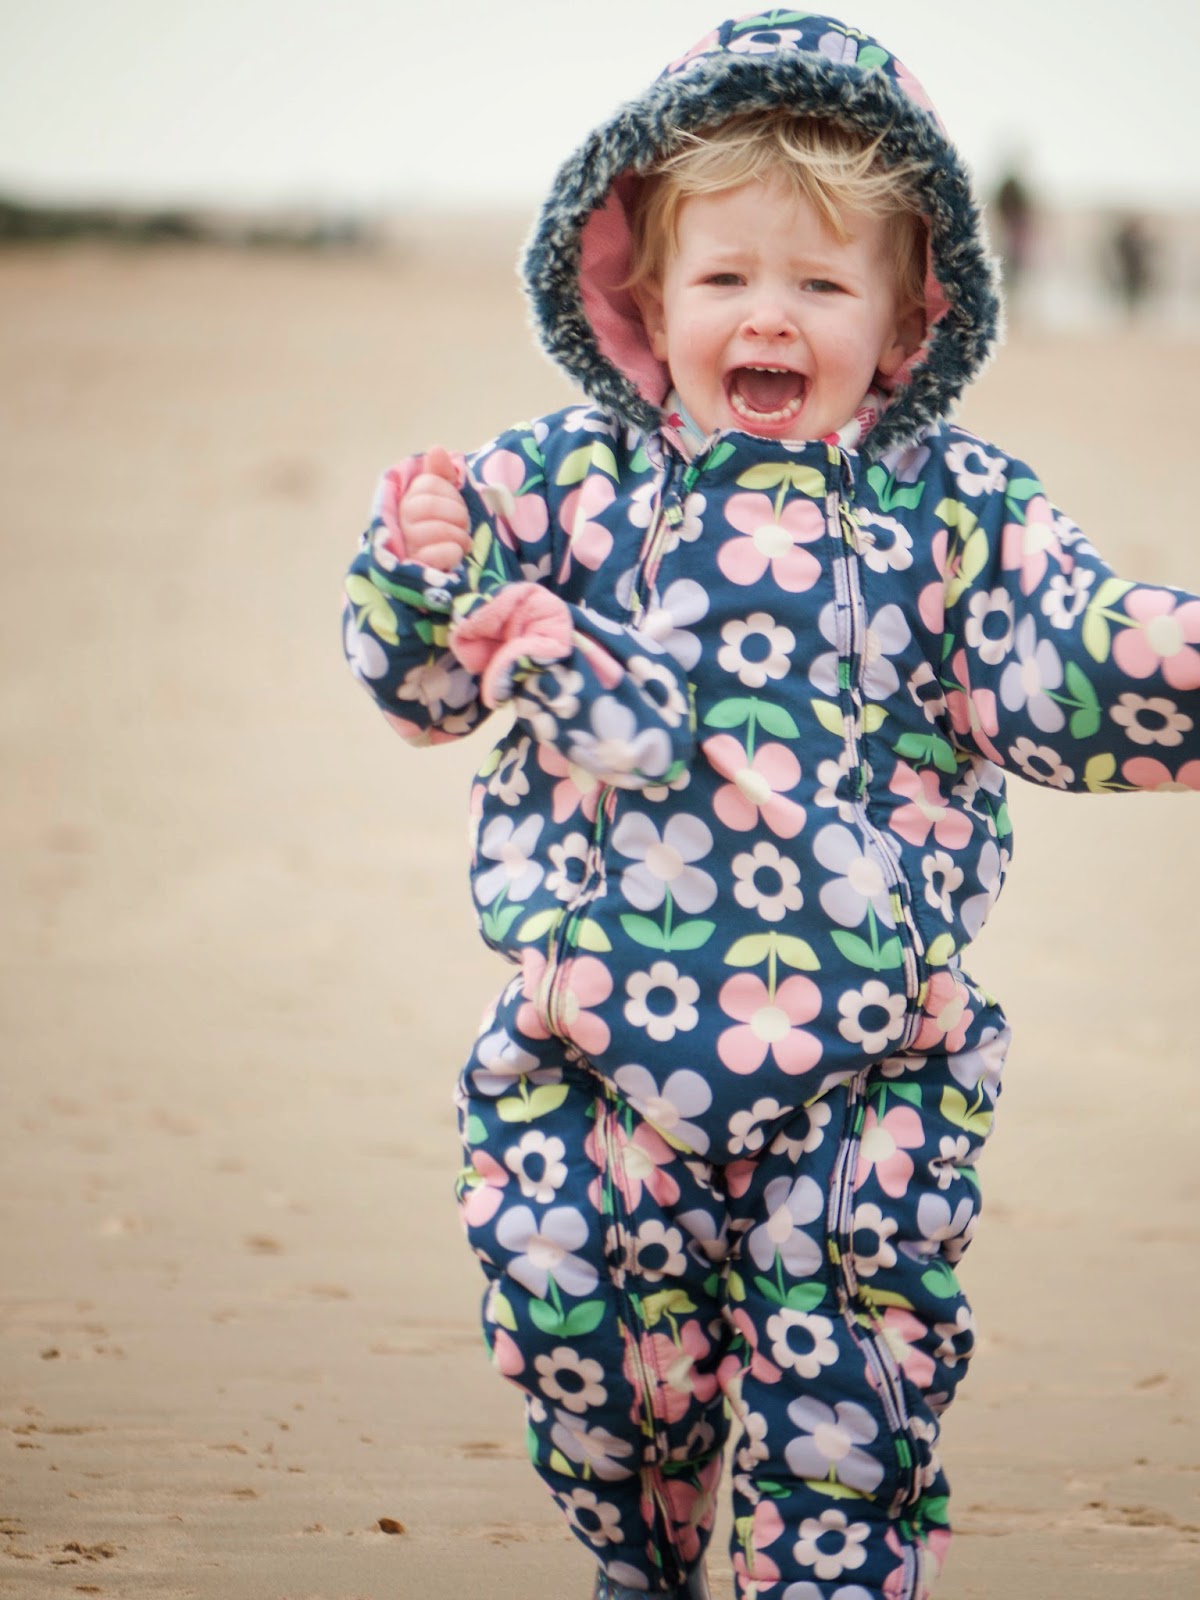
On a recent trip to Norfolk for my mum's birthday, I decided to take the camera out when we went for a walk along the beach. As you can see, my natural style is more documentary/lifestyle because I love the natural shots you can get from doing this and I know not everyone likes to have a camera thrust in their face! So if you are a bit camera shy but would love some gorgeous family portraits, please get in touch!


Come on Daddy, this way!
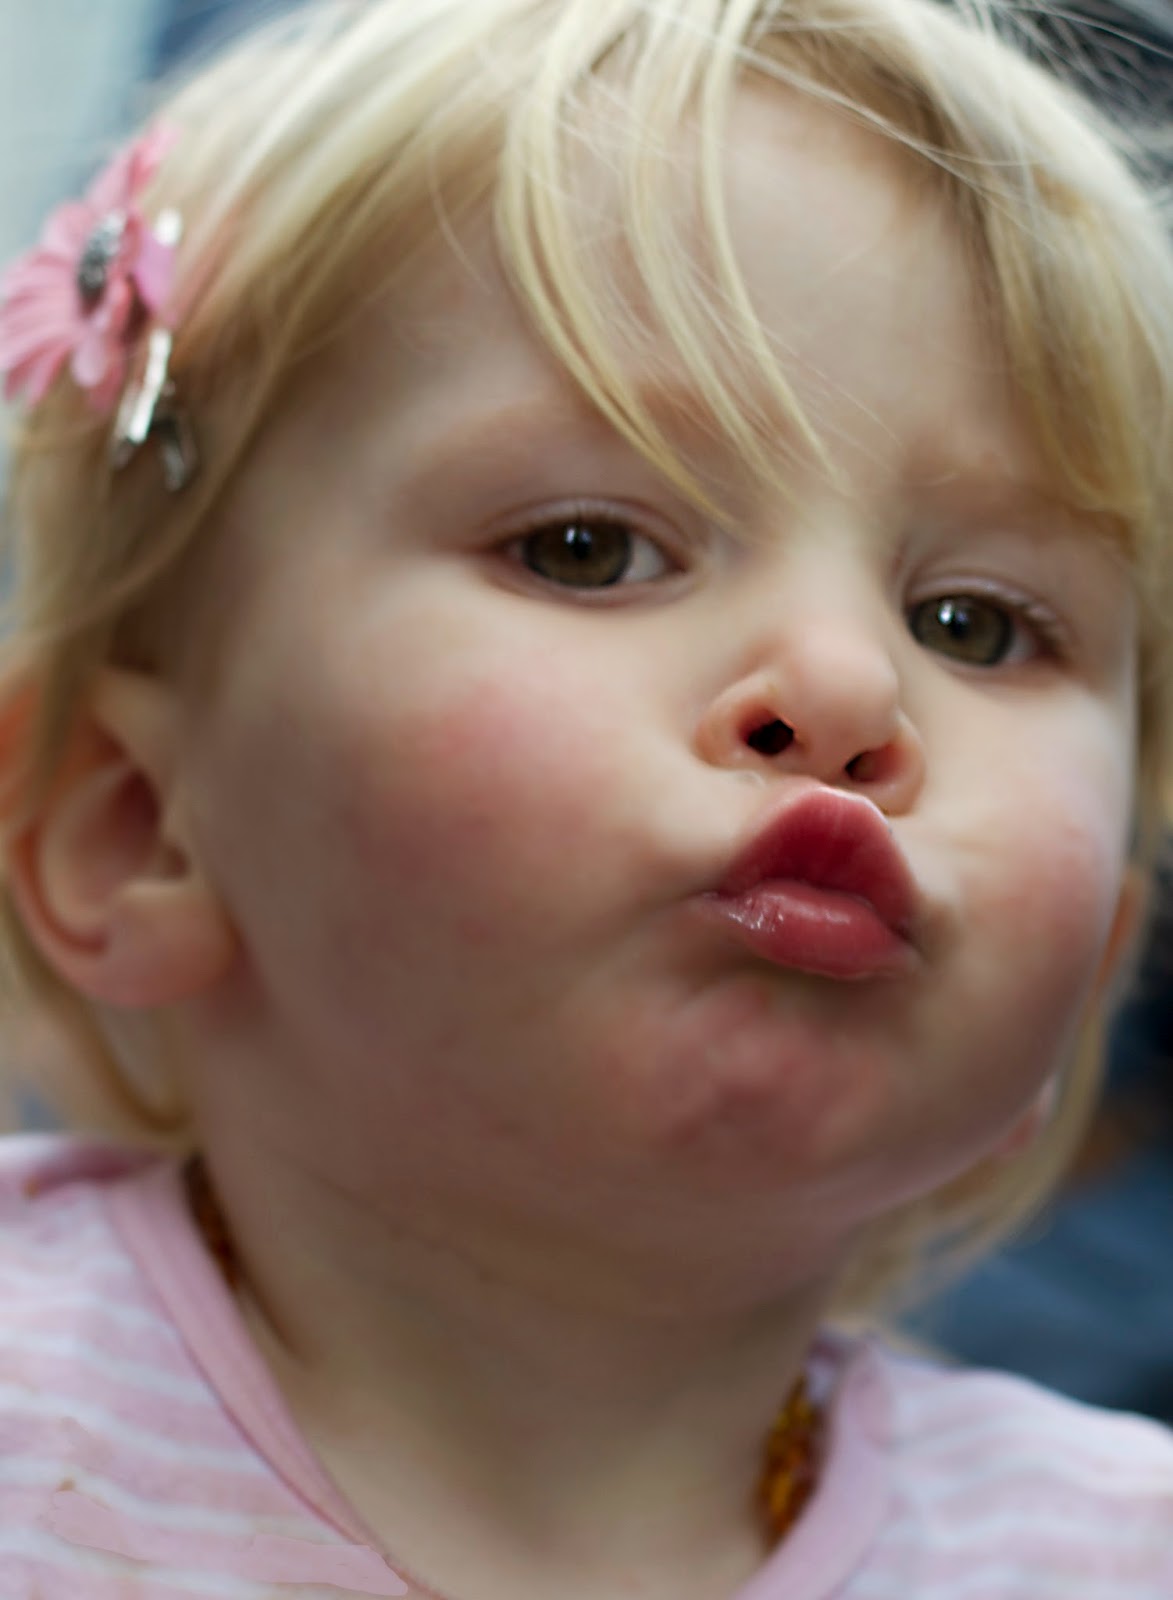
And here are a few others of my gorgeous neice, for good measure!


10 April 2014

Family Portraits with Reece!

Woah, where has the last month just gone?! Can't believe I haven't put a blog post up for a month, tut tut! Not to say I haven't been busy taking photos though, and busy networking, so keep your eyes peeled over the next few months for some other work. Make sure you keep checking back here to keep up to date with me!

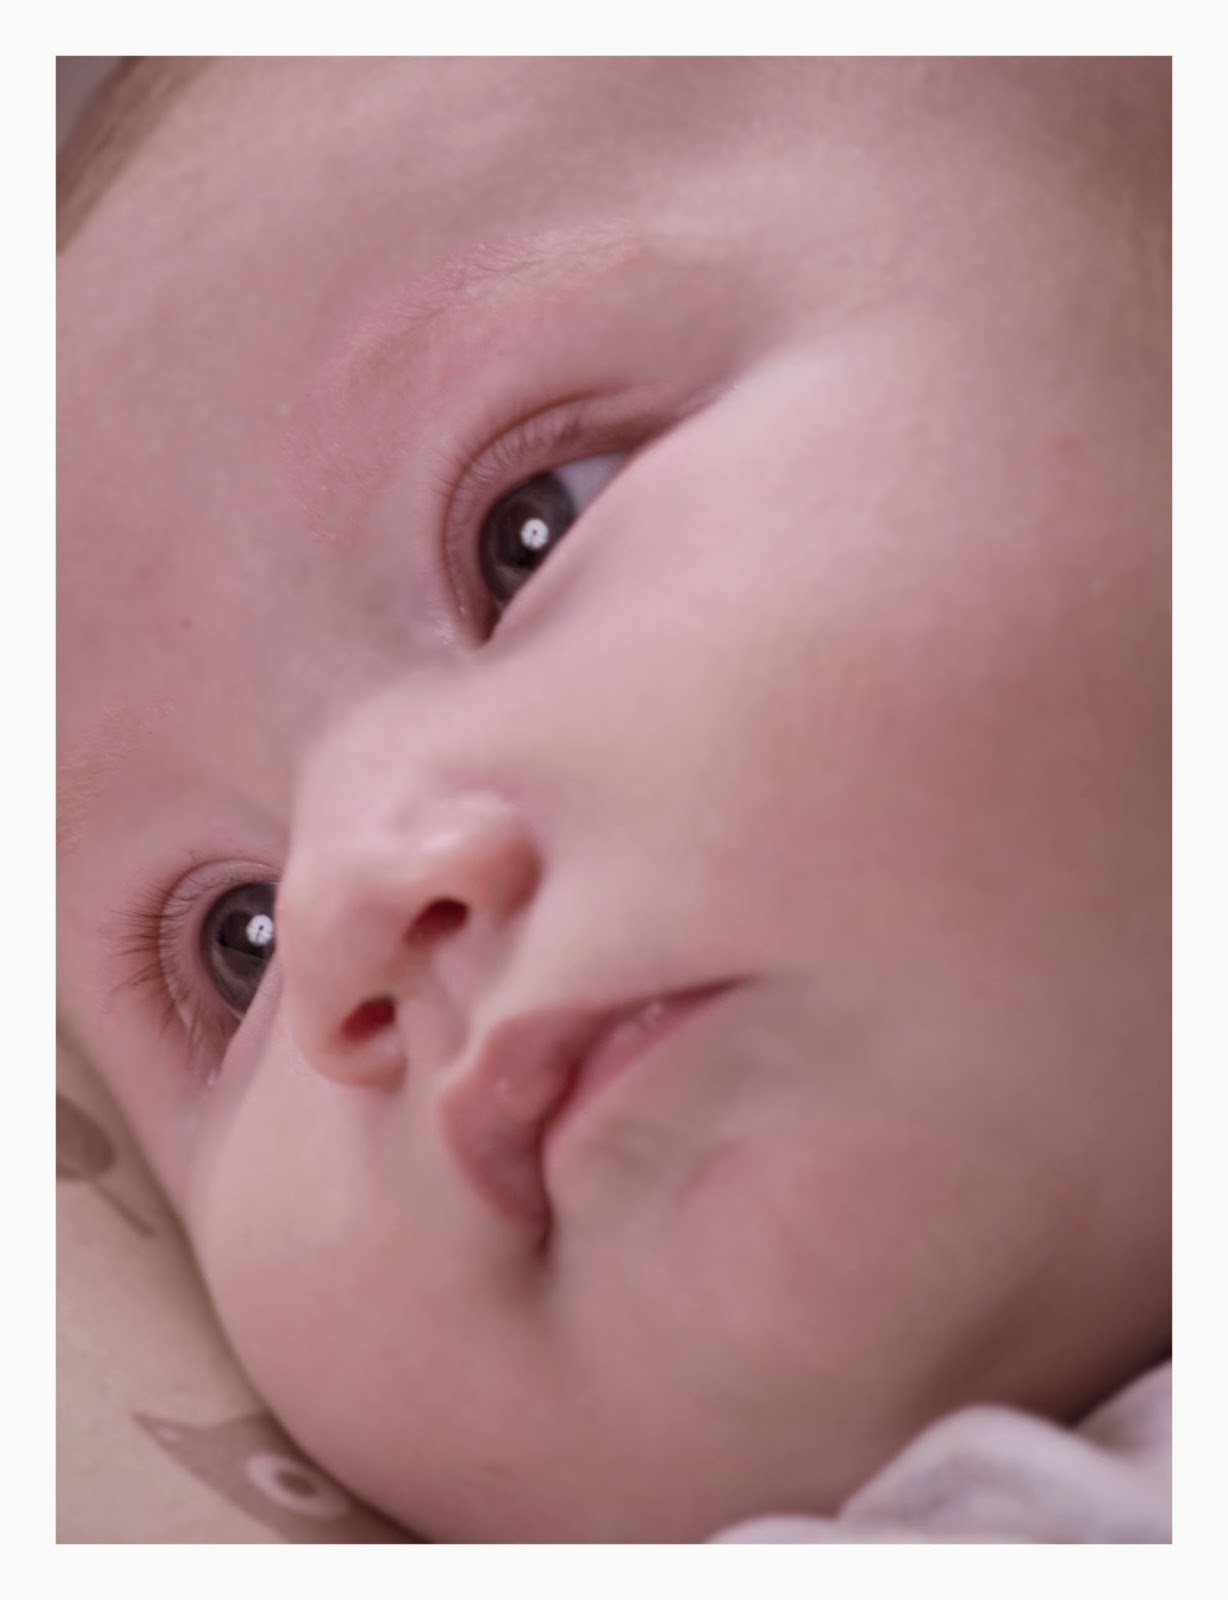
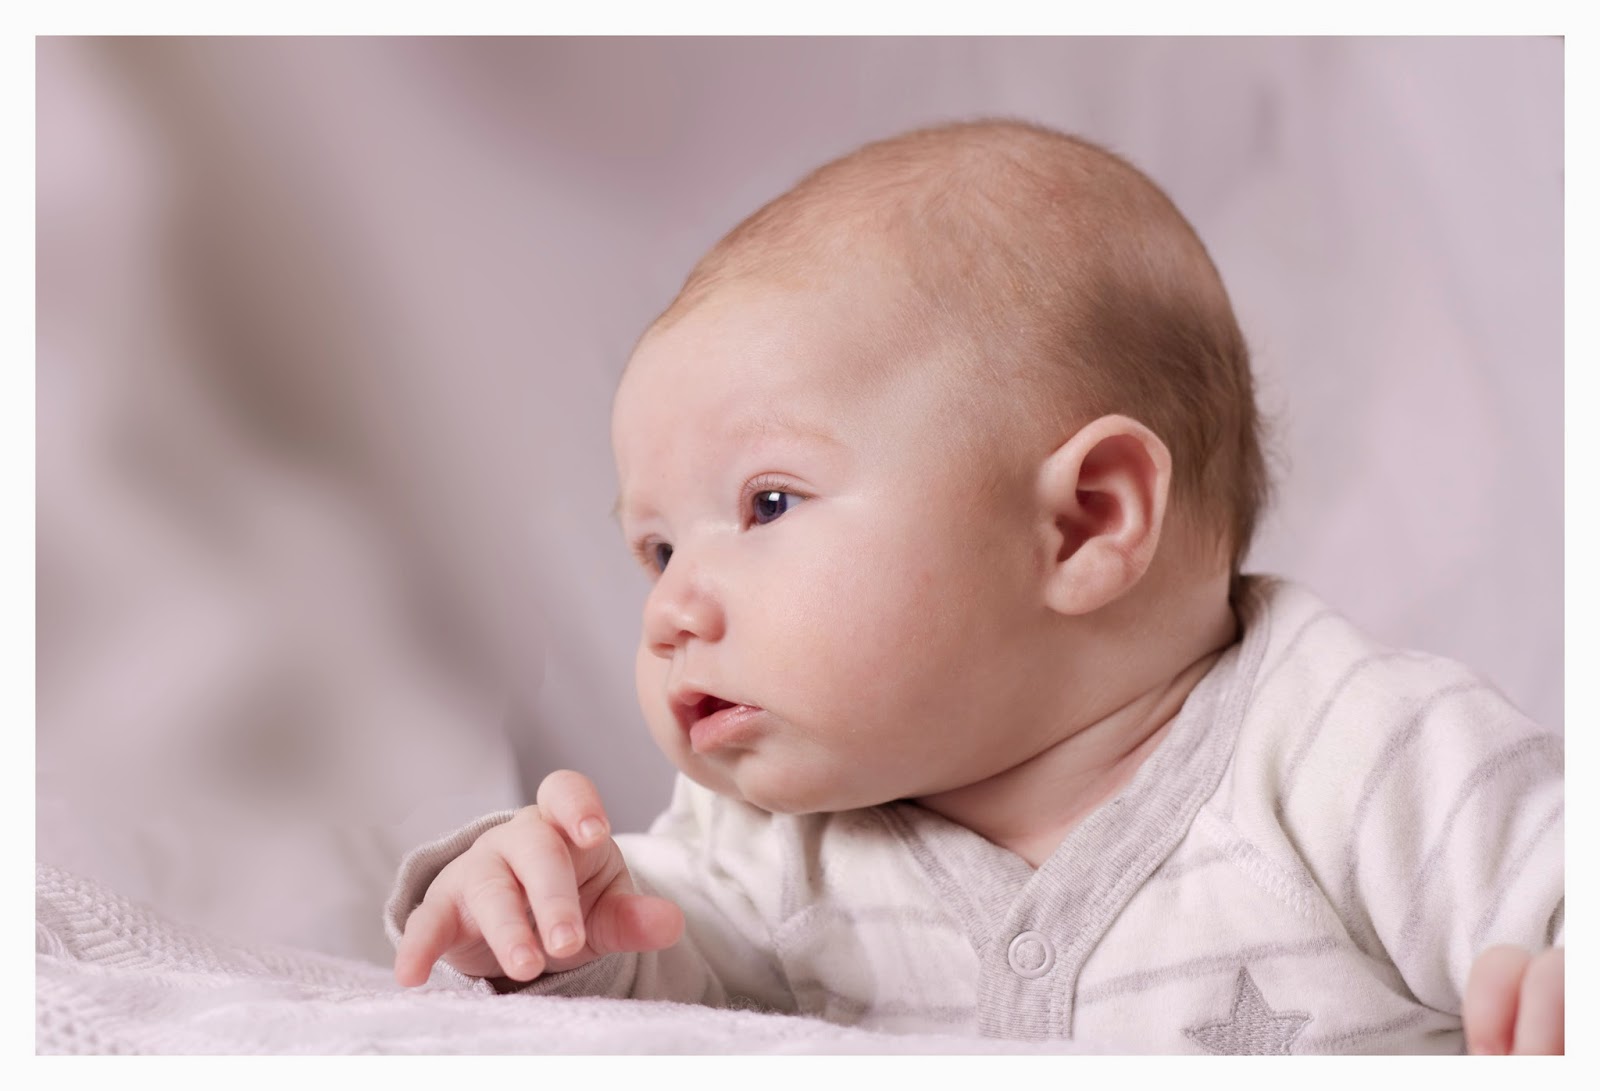
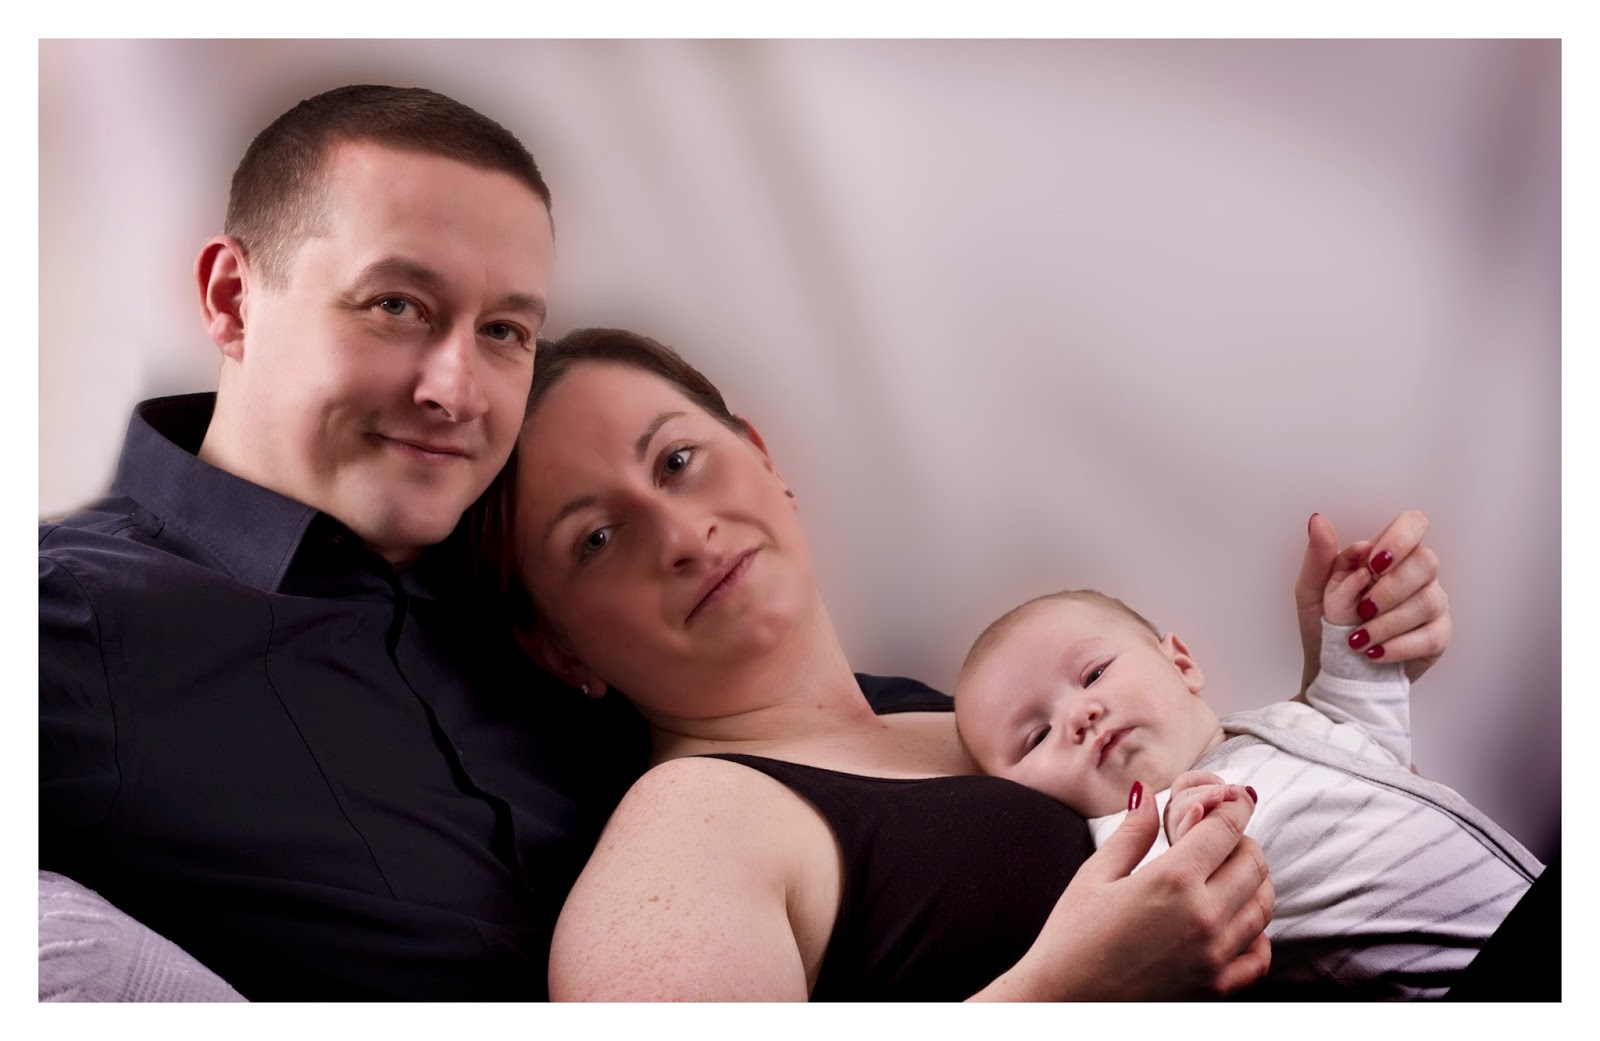
I had the pleasure of photographing this beautiful bundle a few weeks ago! Reece, despite being a little poorly, was good as gold and I think he quite enjoyed the limelight, judging by this photo! If you like what you see here, why not get in contact to book your own family portrait?!


Love this one of Mum and Baby!


Awww, I could eat him up!


If you would like to enquire about your own family bespoke photo shoot, please do not hesitate to get in contact! You can use the contact me tab on the page or my contact details are at the top!

27 February 2014

Photoshop Tips! Reducing shine through simple retouching.

Thought it was about time I posted something a) not about Cuba b) that other people mind find useful (!). As much as I want you all to look at and appreciate my photos, always good to mix it up with some handy tips (and still looking at my photos!!).

In this post I am going to give you some simple Photoshop tips for removing those annoying areas of shine on a face! So, here's the original photo:


I love the high contrast of the lighting in this image. As my lovely model Dorian said, it represents the way he see's his only personality, with a very dark side! There isn't much call for retouching with this image but I wanted to get rid of the slight shine there is on the left of his face from the lighting and you'll be pleased to hear this is really, really simple to do.

First, create a new layer in Photoshop (Layer -> New -> Layer) and name it 'Retouch'.

Next you need to click on eye dropper tool icon. Move your cursor over to the an area of the skin that isn't shiny, but close to your problem area and click. In the photo I'm using, I clicked on the skin just below the cheek bone. It'll bring up a big round circle with two colours in like the picture below:


Then change from the eye dropper tool to the paint brush tool and reduce the opacity to around 10% (you can play around with this but I think no higher than 10% works best, otherwise it can end up looking unnatural).

Zoom in to your photo (cmd/ctrl and +) to about 200% so you can make small, accurate adjustments a little at a time.
Paint over the area of shine, a little at a time and toggle on and off the layer to check your progress and see if you need to go over the area again.

When you move to a different part of the skin, repeat the process of finding the nearest area of skin without any shine, using the eye dropper tool to match the skin tones, and then changing to paint brush to paint over the area.

And here is my final product. Just a teeny tweak here and there which improves the overall image!


All content ©FeistyFotos. Please do not copy or use without permission. With thanks to my model Dorian Payne.

29 January 2014

Cuban Music

Every bar you go in, whatever time of day, there is always a live band playing and regardless of whether the music they play is was your thing or not, it's awesome to listen to. So, for £1 for a Mojito half full of rum, the live music was basically free! This was my favourite band on our trip, they played in our hotel and were lovely people. They didn't speak much English and we didn't speak much Spanish but we managed. And there's nothing better than mixing with locals and real people when you go away somewhere, especially somewhere like Cuba. We bought their CD so we can transport ourselves back there any time!


17 January 2014

Cuba - Esta es la vida

Whilst moving around Havana and exploring the city, I loved capturing the locals going about their daily lives. Here are a few images I took of them!


Ah, loved it so much here! It was like being in a time warp!


I love the series of 3 photos of the man catching fish for the day. You just don;t get that sort of thing in England! Well, at least if you do, it sort of happens much earlier in the day and isn't nearly as picturesque as this huh?! I think I might actually make this in to a triptych to really do them photos some justice. What do you think?

24 October 2013

My Skydive!

As I'm sure ALL of you will know (!) I decided in March this year to do a skydive for charity. It's something I have always wanted to do but never had the guts to do it without the moral support of someone I know doing it too. Then at my day job one day, an email went round to see who might be interested in doing it for the two charities we are raising money for this year; Breast Cancer Campaign and Prostate Cancer UK. I literally jumped at the chance!

So, the date was set for 17th August and I'm not lying, I was super excited! As the day approached, I couldn't wait to do it. Then, the day before, work got a call cancelling all 50 of the jumps we had booked for the following day due to weather. I was devastated! I'd psyched myself up so much to do it and felt really deflated. BUT, I suddenly realised I didn't need the 50 other people at work to do it with me. I was more than happy to go it alone (well, with my boyfriend, mum and dad in tow!). 

So, I rebooked, 5th October was the day. So the day rolled round and I didn't flinch. Much to my surprise I was a cool as a cucumber, even in the plane up! It didn't feel real, I really didn't feel like 'wow, I'm about to jump out of a plane'. And then I did! It was amazing, exhilirating, like nothing I have ever done before! Someone told me it was like floating?! Nothing like it unless floating feels like travelling completely unprotected by anything at 200mph!

Well enough of my jabbering! Here are a few, ok, quite a lot, of photos from the day, obviously not taken by myself! Massive thanks to my mum, dad and boyfriend for supporting me on the day and HUGE THANK YOU 
to everyone who sponsored me! I raised a massive £760 all by myself thanks to you generous bunch! In addition to that, my work will double the money I raised, how amazing is that? One of the proudest achievements in my life.. And I might just have found my vocation in life.... Photographing other skydivers?! Imagine doing that 10 times a day? Watch this space! ;-)

And the link to the video I got some of these stills from is here.


Ok at this point I was like 'Whoa, I'm about to fall out of a plane and hurtle to the ground!'


Think my stomach got stuck up by the plane at this point!