Showing posts with label Experimental. Show all posts

16 June 2014

Need some inspiration?

I find inspiration in most things but I have so many ideas buzzing around my head I sometimes don't know where to begin with them and a little direction never goes amiss!

 I had this delightful little number bought for me recently by one of my constant sources of inspiration, my other half! This book is excellent! It has lots of different ideas that anyone can have a go at and I would recommend it to everyone to have a look through, if you are 'photo crafty' minded.


I'm going to try and do one thing a month out of this book and then blog about it. Why not get yourself (or someone else to!) this book and do the same!

23 May 2014

Photoshop Tutorial: HDR Images


I think amongst photographers, HDR is a bit like marmite, you either love it or hate it. I have seen some amazing landscape shots enhanced with the use of HDR but it's never been something that has massively appealed to me…. Until now!

HDR stands for High-Dynamic-Range imaging and to put it simply, it gives you a better range of highlights, shadows, colours than you can capture with real world scenes.

I read a couple of tutorials on it after looking at some album artwork that I thought looked really cool and that I wanted to have a go at recreating (The Amazing Snakeheads, Amphetamine Ballads to be precise).

The technical bit:
  • You need to take 3 images, one a stop or two under exposed, one correctly exposed and a third image one or two stops over exposed. (In order to get a seamless free image, it's best to use a tripod, unless you want a more ethereal, dreamlike or ghostly final image.)
  • Open up Photoshop and click on file, then 'automate' and 'Merge to HDR pro'

  • You'll then get a pop up box with your HDR image and now the world is your oyster! Play around with the settings and see what you get!
NB If you can't see the the save or OK button if you edit on a Mac, move the toolbar to the left or right (apple -> Dock -> Position on Left/Right) and it should come up. For some reason, on mine, the bottom of the box gets cut off meaning you have to force quit and lose your lovely image!


Like I said previously, if you want a crisper image, you'll need to use a tripod, but I was so eager to try the technique out I didn't bother! Serendipity prevailed once again and I love the softer edges and the more eerie feel of the photo by not using one.

And just to add a bit more spookiness to the image, I did another edit but this time I made the eyes completely black. Thoughts?!


20 June 2013

The Sunny F/16 Rule.... Explained!

I think the name for this method of photography is a bit misleading or sounds too restrictive. It's not a 'rule' as such, but more a guide to help you get the right exposure settings quickly when you perhaps don't have time to play around or use a light meter. 

The joy of this rule is that you don't just have to use it for sunny situations, it will also help you expose on a cloudy day. And, more importantly, if you get a correct exposure, there's less editing required after, trying to make up for lost detail.

So, the rule is, on a sunny day, with a front lit subject, set your aperture to F/16 and then set your shutter speed to the reciprocal of your ISO. 

F/16 ISO 100 Shutter Speed 1/100 second

or

F/16 ISO 200 Shutter Speed 1/200 second
F/16 ISO 400 Shutter Speed 1/400 second

(as you can see from the photo's below the exposure is the same despite the different settings because when you change the ISO, you adjust the shutter speed to compensate. Left is ISO 100, then ISO 200 and finally ISO 400)


If you need to shoot on a cloudy day or you want to adjust your depth of field, you can change the aperture but you have to change the shutter speed to compensate. For example;

On a cloudy day or a if a shallow depth of field is needed, if you changed your aperture to 
F/4 ISO 100, you would need to change your shutter speed to 1/1600 second and you can do this for settings anywhere inbetween. This is because, with this example, the aperture has changed by 4 full stops, so the shutter speed needs changing by 4 full stops as well. 

****Note at this point that some camera's are calibrated in third stops. So three clicks of the wheel on your camera will equate to one full stop.****


The image to the left is F/11 ISO 100 Shutter Speed 1/200. So, I have changed the aperture from F/16 by one full stop, therefore I need to change the shutter speed by one full stop from 1/100 to 1/200.

The image to the right is F/8 ISO 100 Shutter Speed 1/400. This time the settings have been changed by two full stops yet as you can see with both images, the exposure is the same.

Here is a guide for the settings in any weather condition which I hope you find useful:

Snow or Sand: F/22 
Sunny: F/16 
Slightly overcast: F/11 
Overcast: F/8 
Heavy overcast: F/5.6 
Open shade or sunset: F/4 


I hope this blog has helped you understand the rule a little better. Please feel free to comment below and let me know what you think or if you found it helpful. Now go and practise! It's an invaluable tool to have as a photographer as I have learnt in only a matter of weeks.


18 April 2013

The Photography Institute

So yesterday I showed you some V images I took about a year ago, well here are some more recent ones...... I've recently embarked on a new photography course with The Photography Institute (hence the lack of blog updates lately!!!) so my posts for the foreseeable future will be the work I have submitted as part of the course. First up, here are the 3 images I shortlisted to submit. You can chose whatever you want to take a photo of but using techniques learnt. Always keen to get my 'V' in, I decided to take photos of him for assignment 2 (first module did not require a submission); we had to find an object of any kind around the house and think of a 'different' way to photograph it. 


This was the image I decided to submit, the following two are the other ones I was considering. I decided on this one because I liked the 'mood' of it most. I like it being dark and mysterious, I love the warmth of the photo after using a red backdrop and I love the reflection in the glass (which was what was at the forefront of my mind when initially thinking about the photo). I got 8/10 for my overall assignment score which I'm very proud of. Would love anyone and everyone's thoughts on the images! Which is your favourite?


20 February 2013

Man Ray: My Way

Last weekend I was lucky enough to go to the Man Ray Portraits exhibition at the National Portrait Gallery. One of my most favourite photographers and a big source of inspiration for me, I felt truly privileged to be up close and personal to some of his originals.

With that in mind, it made me think back to last year when I was again looking through his work and decided to do my on take on some of his images, I suppose you could say as an homage to his great work. I have only done a few and this is an ongoing project that I will keep adding to, but it seemed like a good time to share!

I've included his images for any of you not familiar with his work and then mine.


So, different, yet similar. I loved the idea of the mask in Man Ray's image but I didn't want my attempt to completely mirror his, so I added a bit of me to it by using the V mask. The lighting is very different in my image too, it's much darker but again, I feel that reflects me better. The shadows are still there and the composition is obviously really similar. Obviously it's not a patch on the work of a photographic genius but I would like to think that he'd see it as a compliment to him that I want to try and make images similar to his!


Today's modern man?! Man Ray's photo is of Pablo Picasso with his paintings in the background. Again, composed similarly but instead of the subject having their work in the background, I have mine. And spot the V mask making another appearance!


Lee Miller, another one of my most favourite photographers, collaborator and muse of Man Ray. She was the subject of much of his work. Another Man Ray inspired photo from me. My image is heavily solarised so the differences are quite apparent but once again, you can draw the comparisons.

So, what do you think of Man Ray: My Way?! Think I might do more of this with some of my other faves! 

06 February 2013

Goa by Night


Went to take some photos of the sunset and unfortunately it was a bit hazy so it lasted all of 5 minutes before it disappeared. So I decided to play around with lights from the shacks lining the beach instead. As you do. ;) 


And a candle...


Nothing like capturing the mood and feeling of a place with some long exposure shots! And with beautiful palms as silhouettes the opportunity was too good to miss! 


28 December 2012

Don't forget the Exhibition!

Just a gentle reminder that my night for the exhibition is fast approaching! 

'Windows' Exhibition 
Friday 1st February 2013
7pm
The Roisin Dubh (Kingsbury)

Click here for more information! Spread the word!

11 July 2012

No smoke without fire

I have a notebook at home that any idea, however weird or wonderful, goes in to. And 'smoke' has been written in my notebook for some time. So, with the weather as delightful as it is and preventing me from going out to take photos, I thought now was as good a time as any to do some smoke experiments.....


Not bad for a first attempt I don't think! I looked up a tutorial and got straight in to it. The tutorial said patience was key and I can vouch for that! However, I am pretty pleased with them. Of course, there is always room for improvement but smoke makes so many beautiful patterns and when you add colour to the images it brings those amazing shapes to life.


To achieve all of these photos I had the ISO set to 100 and used my flash gun, a home made reflector and snood. I found it really hard to focus because you have to use a manual focus and it's not easy in the dark! But I did it and had fun so I'll definitely be practising it more in the future.


Looks like I'll have a lot more of these to showcase seeing as this rain doesn't look like budging any time soon.

16 May 2012

Some from Easter?!

 I was sat at home looking at ALL the chocolate I seemed to have accumulated for Easter. Not bad for a 20something adult, eh?!


Every day it was all sat on the table, staring at me, just willing me to gobble it all up with it's lovely bright packaging. So instead of giving in to temptation, I thought I would take photos of them. Mmmmmmmmmm it makes my mouth water just looking at this one. That cadbury's purple gets me every time!


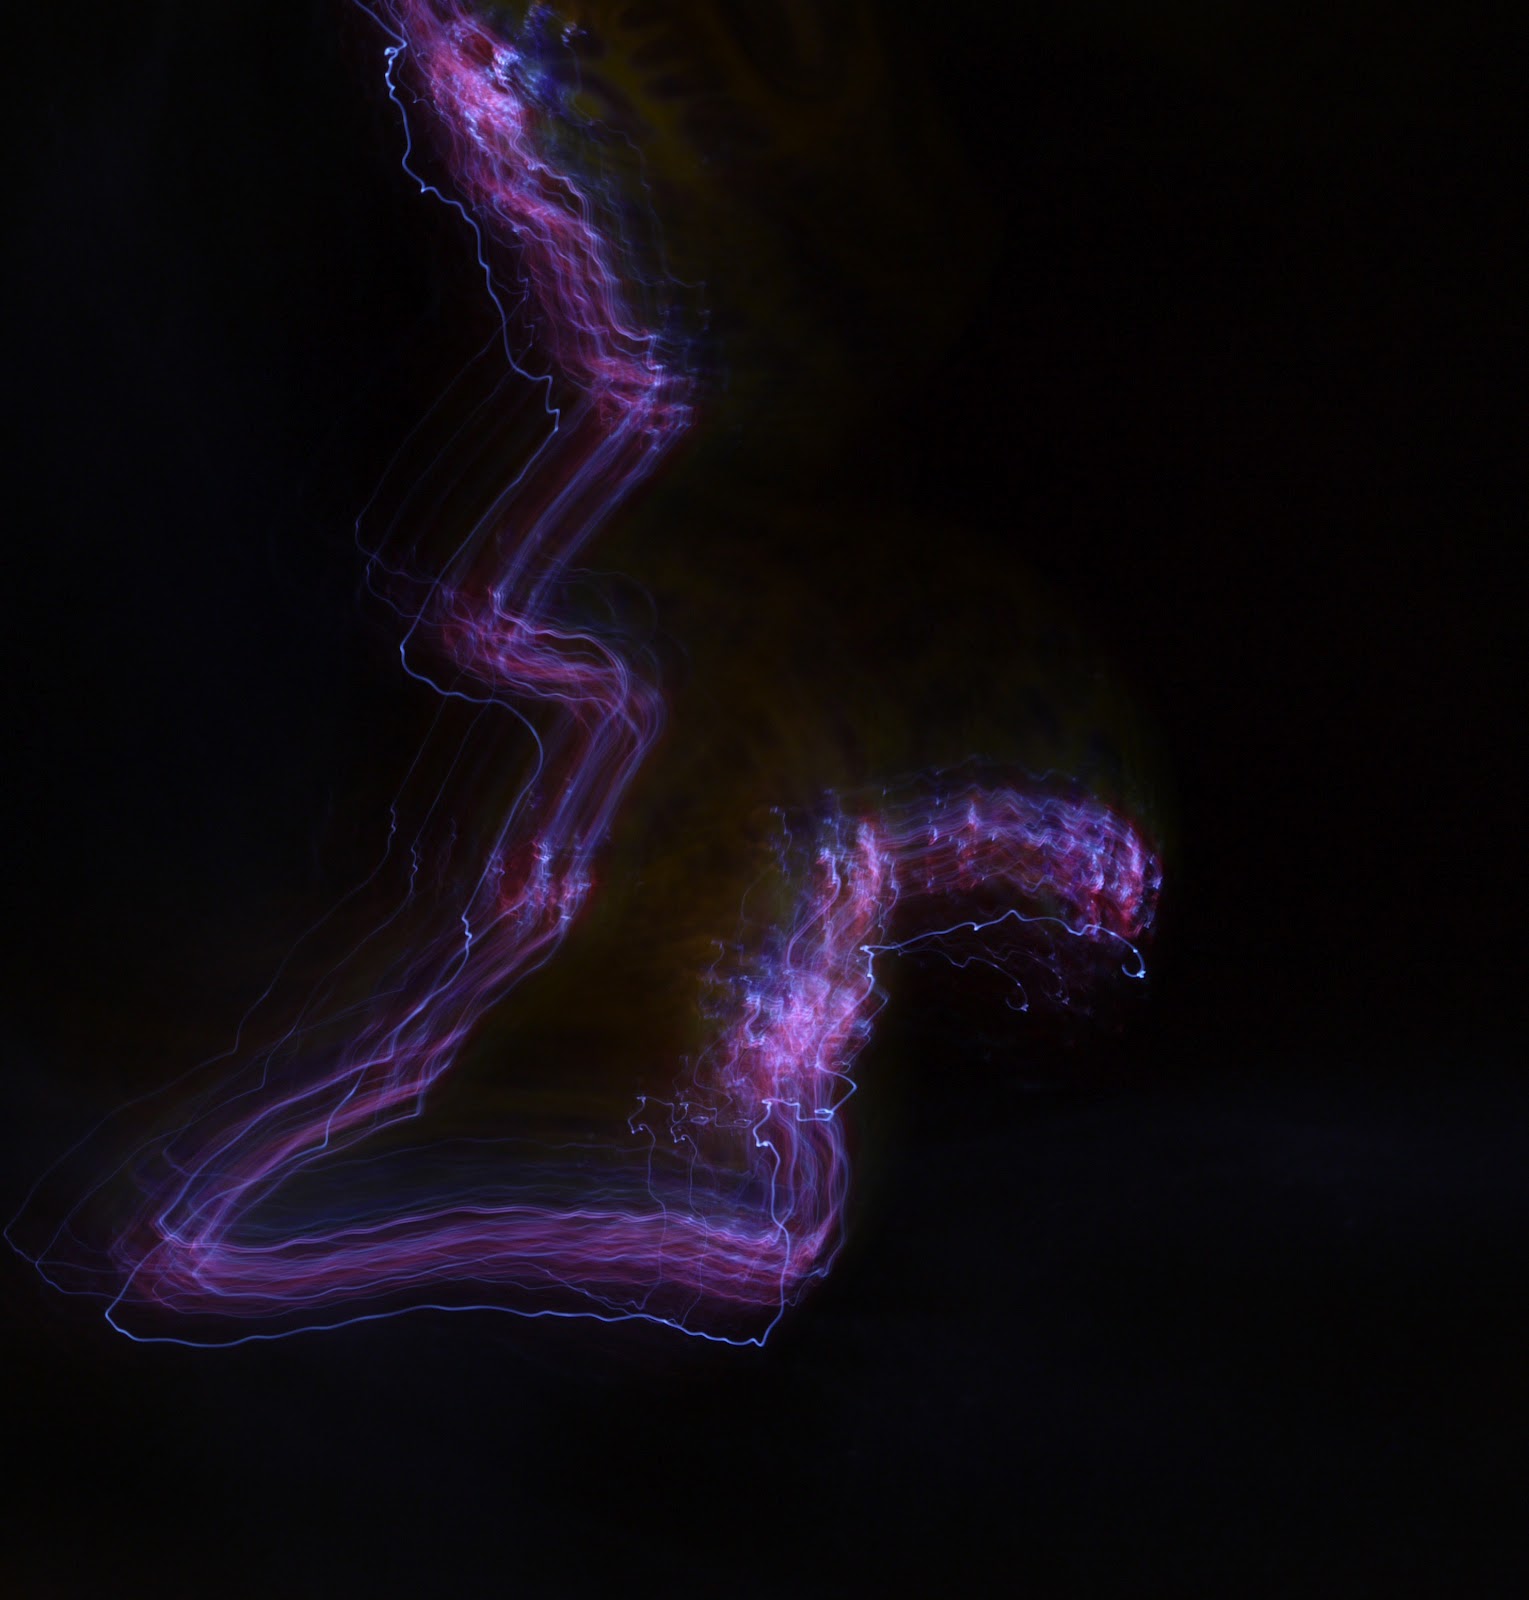
Then I thought I'd do some experimenting. To be fair, it didn't turn out how I thought or had wanted it to but I really like them all the same! I used long exposure and was moving the camera around whilst exposing. Neat, huh?! The one on the left I actually zoomed in and out as I was exposing, rather than moving the camera itself. I like that it has a kind of 'Creme Egg halo'!


This one is my favourite, I just love how it doesn't look at all like an easter egg or chocolate and the colours look brilliant. In my opinion anyway! Hope you like them. I'm just going to go and raid the chocolate cupboard. Laters!

31 January 2012

Blessed are the Dead


Don't forget all photography for sale! For POA, email feistyfotos@hotmail.co.uk

18 January 2012

Through the looking glass

I like experimenting with reflection and I love the reflection of the cross in this image.