Showing posts with label London. Show all posts

05 June 2014

Male Portraits

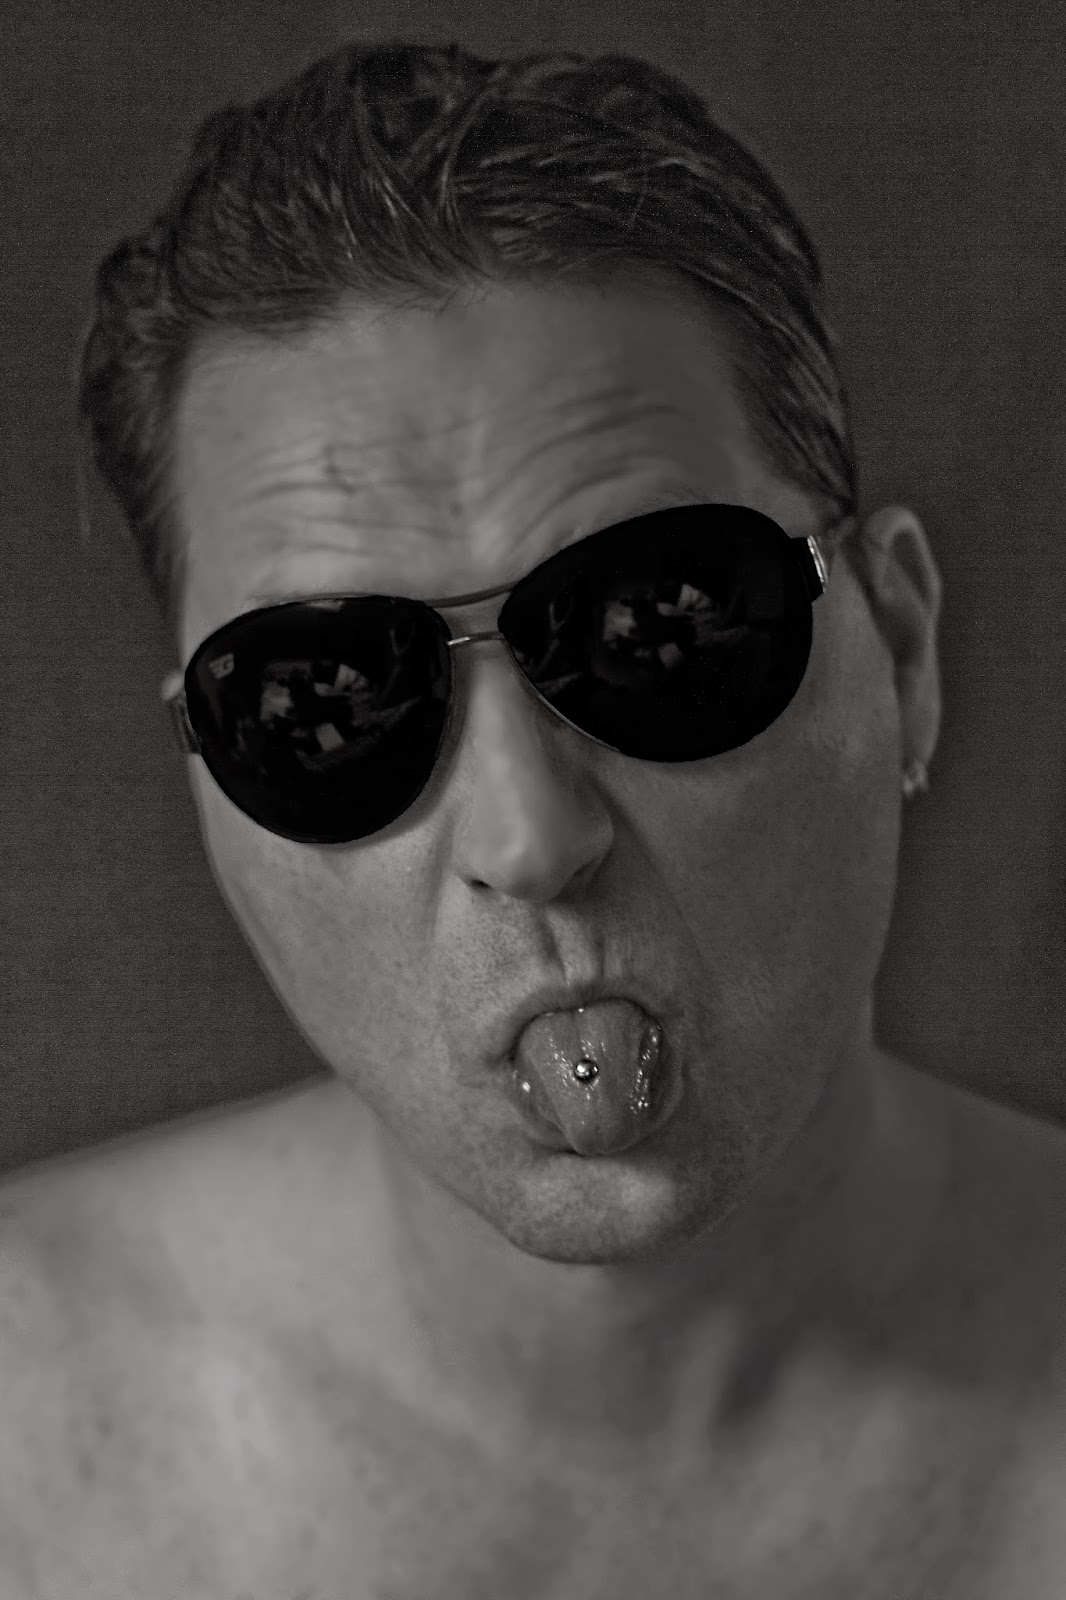
Been doing some male portrait recently, and trying out some different styles. Here are a small selection using both natural and artificial lighting. 

These two photos above are my preferred type of shot, the natural one. The one on the left is with studio lights (one soft box and a white umbrella either side of the camera at 45 degree angles to the subject) in my 'studio' (I wish!) and on the right, natural light on a summers day. Opposite way round below and this time with my models posed. 


Having male models has it advantages… Like being able to experiment having a bit more scope when it comes to harsh lighting. I have skylights so this was taken using the window light, slightly diffused. I really like the stark contrast of light on either side of the face.


This photo is part of an assignment for the course I'm doing with The Photography Institute, (another blog for another time, maybe). This was my favourite one from the five I took, because I love the catch lights! 

08 January 2014

Some of my favourite images from 2013!

As I start any new year I like to think about the things I have achieved in the previous 12 months. Reflection is really important. Sometimes time passes by so quickly that it's easy to forget all that you've achieved, even if it's only something little. You did it! And you should pat yourself on the back for it.  2013 really was a bumper year for me, I had work featured in online magazines, my first photo shoots, a new course started with The Photography Institute to name but a few and I have learnt a lot along the way. It's very easy to carry on and feel like you are not improving or getting anywhere. 

So this is my own little pat on the back and I hope you enjoy sharing it with me! 


Would love to hear what your favourite images of 2013 have been, post links and comments in the box below, here's to 2014! :)

15 October 2013

Sarah & Dave's Recent-ish Wedding!

I had the pleasure of being invited to two of my friend's wedding at the end of August. I couldn't make the day ceremony due to the day job but I was able to go to the lovely evening reception. And lovely it really was! I was just gutted I didn't get to make the whole day as the photos I have seen since are awesome and look like so much fun! Different to your 'average' wedding which is always refreshing in!

So, although there was no official photographer on the day, I took a few in the evening and here they are. Thank you Sarah and Dave for letting me part of your wonderful day!

A bit late, given but that's what moving home does to your time! ;-)


I've only done this image larger because I love the movement in the photo, makes Dave look like a ghost!


How beautiful?! X


14 August 2013

Family portraits

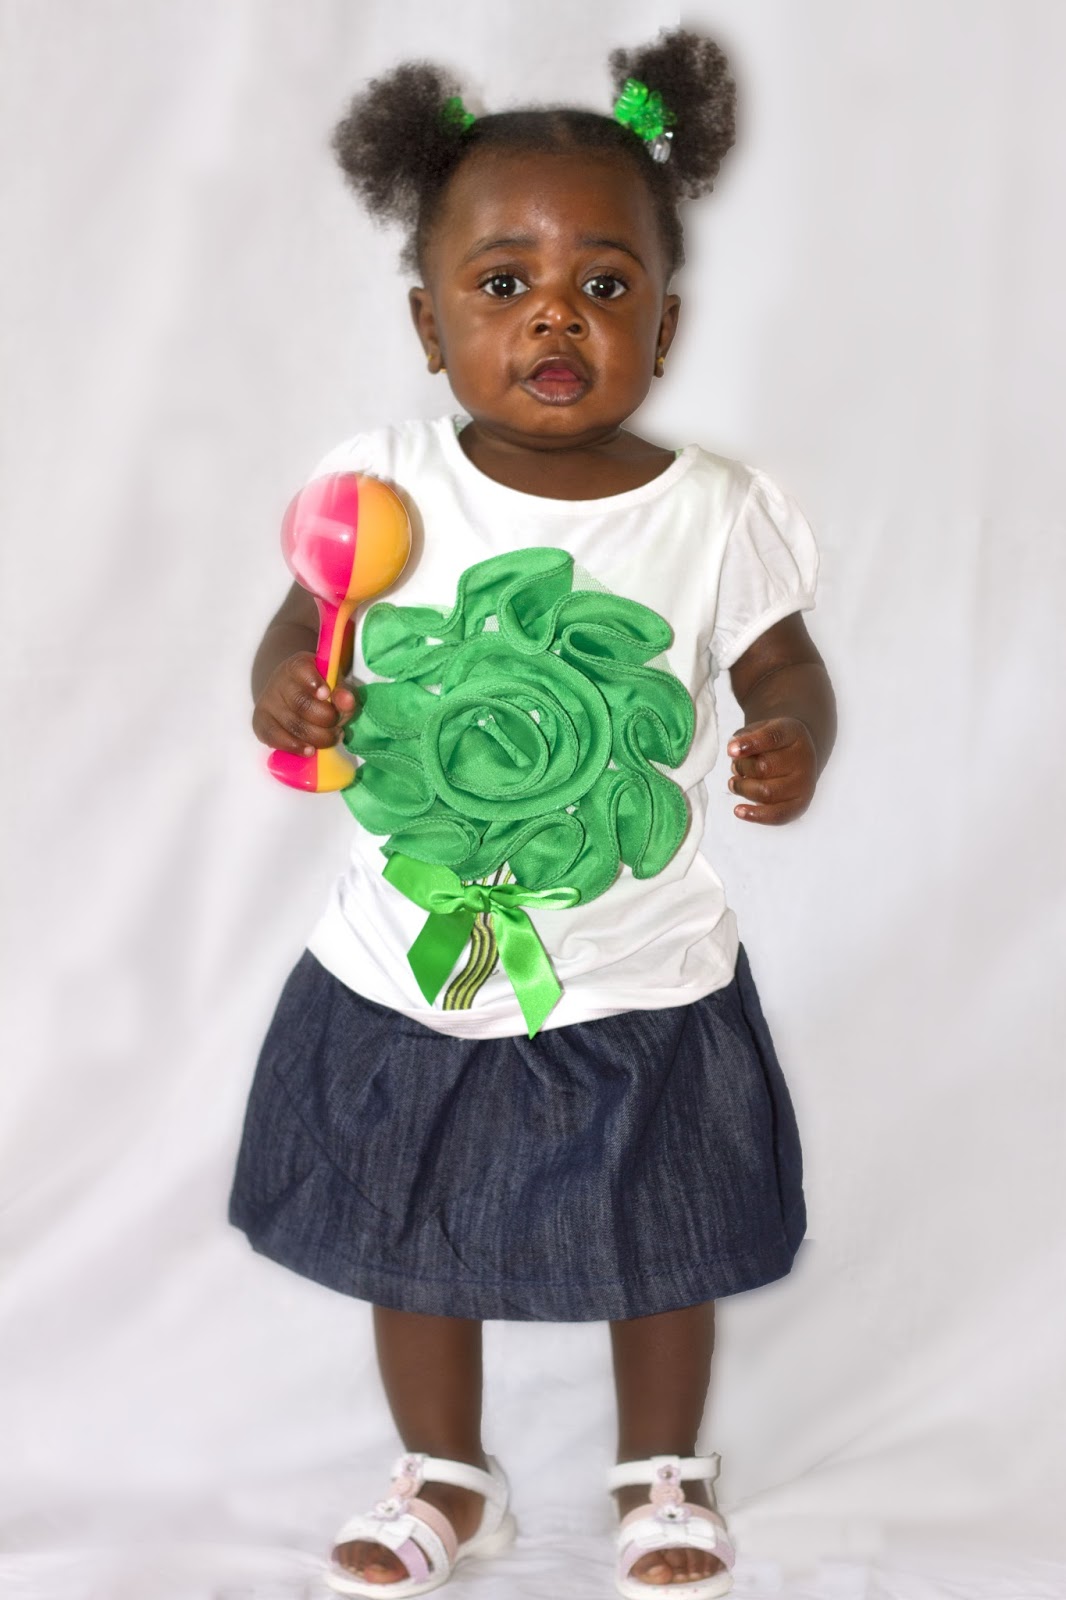
Have been practising with my 50mm a lot more recently and did a family photo shoot with the gorgeous Mya, her parents and her grandma. How cute is she?! 


And another day, another family, my family! These next ones were taken at my Aunty and Uncle's 50th Wedding Anniversary. My Aunty got into the very dress she wore on her wedding day, how cool is that?! And here she is with her bridesmaids. (My mum is the gorgeous lady second in from the right) :)


Love this one!


And finally the happy couple! So, if you're looking for some lovely shots of your family, get in touch!

11 July 2013

My lully new 50mm 1.8!


I recently upgraded my camera to a Canon 7D. I've had my Lumix for a while and then I got given a kit lens for a Canon. So, what's a girl to do?! I had to get a Canon to make use of my new lens! I got a really good deal through DigitalRev and was not disappointed with their service! I got the camera in record time, 2 days and got a really good deal on a 50mm 1.8 lens too! Over the moon goes a little way to describing my excitement at my new toy! So above is the very first shot taken with my camera and making full use of my lovely new aperture settings! 


Some beautiful lilies I was also brought for my birthday and the cake my lovely mummy made me (I know, I am a very lucky lady). 


The reason I bought this lens; to practise my portraits and I'm pretty proud of this one!


LOVING the depth of field this lens offers me! And nice to see a lovely bumble bee!

16 May 2013

Metering

Whilst I am on this course and learning, I thought I might as well pass on some of my newly gained knowledge. This module is about exposure and metering, and how to calculate the right settings. So that's what you're being treated to today, albeit a much shorter, less technical version!

There are different types of metering that you can use to get the correct exposure. I will explain them briefly here:

Average Reflective Metering
This is where the meter measures the light reflecting off the subject and gives an average reading, which gives the image a mid-tone. The meter will take into account the highlights, mid tones and shadows and give an average of them all. (This sort of metering can also be found integrated in DSLRs). This form of metering is better when there is a good mix of tonal ranges, and not so good for images where the scene has more highlights or more shadows.

Incident Metering
Incident metering is a type of metering that measures the light falling on to the subject. This is a very effective form of metering if you are, for example, shooting with snow. You can use a grey card to take a reading for this sort of metering as long as you ensure you hold the grey card up to the subject and angle it so that the light is falling on it the same as it is the subject or you can use a handheld incident meter.

Spot Metering
With this light meter, an area of the scene is selected and used as the basis for the whole scene and when using a spot meter it is normal practise to take several readings at different points to get the correct exposure. This metering is also another form of reflective metering and whilst very accurate due to taking several readings, it takes practise to master. 

18% Grey card
Camera's have in-built reflective light meters and therefore, any scene it looks at, it assumes are a mid range of 18% grey. This poses a problem if you are in snowy conditions where there are predominantly lots of highlights, as the integrated light meter in the camera will give you a reading based on the highlights but assuming the highlights are 18% grey. So if you follow the meter on the camera, you will get an underexposed image. Similarly, in very shadowy conditions, the reading you get will mean you overexpose the image. Therefore a grey card should be used to calculate the correct exposure. The '18%' refers to the reflective quality of the card and you need to hold the grey card at the same angle as the light falling on the subject to get the reading.

Palm Metering
An excellent string to your bow if you know about palm metering because you literally have it to hand in any given situation, seeing as your palm is attached to your arm! It is similar to grey card metering but you must remember to increase the exposure by one stop (more or less, depending on if you have fairer or darker skin) to compensate for the difference in brightness between your palm and the grey card. And again, you need to angle your palm so that that the light falling on it is the same as the light falling on your subject.

So there you have it! A crash course in the different types of metering to help you get the correct exposure in as little takes as possible.

As part of this learning curve, I was also asked to calculate the dynamic range of my camera* (from darkest to brightest recording of object). Once you know the dynamic range of your camera, you can use this to correctly judge what exposure you will require for your scene but assessing the highlights and shadows and thinking about how much or how little detail you want to keep in the image. After taking lots of images, I was able to see how many 'zones' my camera has and what it's dynamic range is. From that, I was then able to make this I had to come up with a zone ruler which I can now use to help me with future work; I know the settings for the zones below and can use this knowledge when assessing my subject.


*Just FYI, my camera has a dynamic range of 10 and the human eye has a dynamic range of 15!

I hope you have found this post useful. As always, would love to hear your thoughts on it, or suggestions. :-)